
Garden Tips
Azalea Care - Post Blooms
April 2, 2024
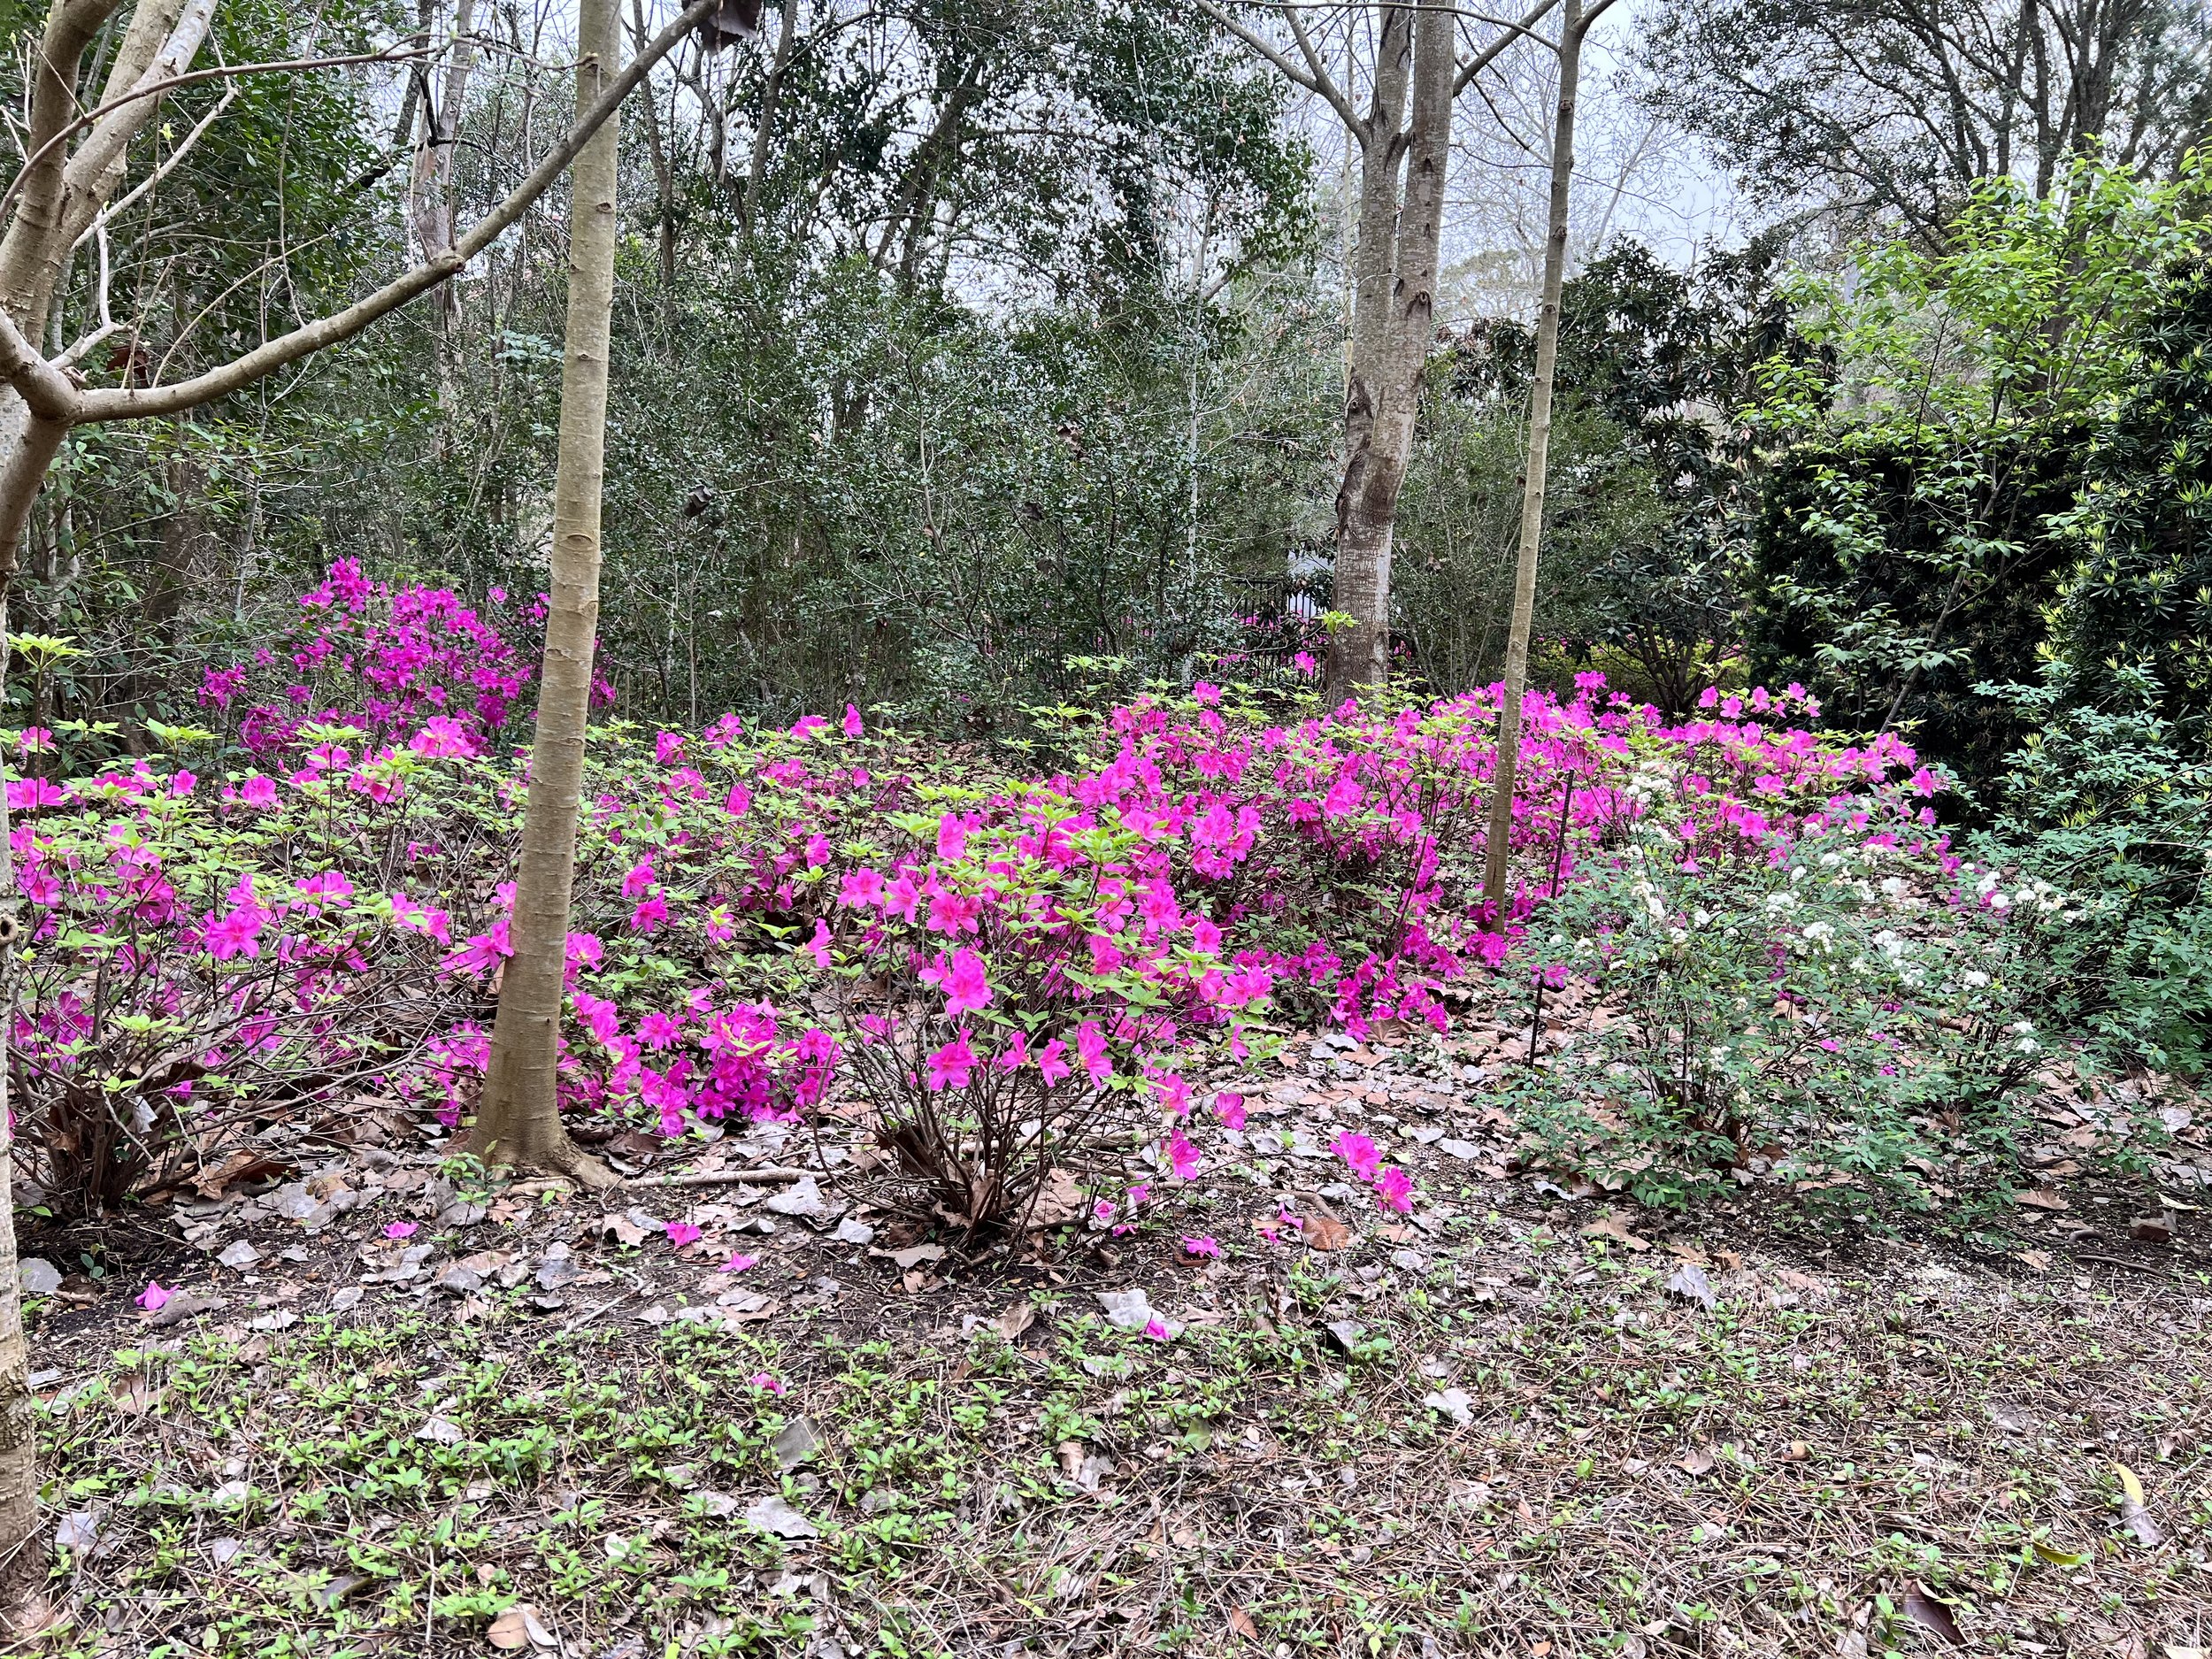
Now that most of their blooms have departed for the year, it is time to get your Indica Azaleas in shape for next year! While sun exposure and age have a lot to do with how prolific the blooms will be each spring, there is a lot you can do to get your azaleas in to fabulous shape for years to come.
Timing
The number one rule of Indica Azalea care is, “Thou shall not trim azaleas until after they have bloomed.” Why is this the most important rule? Because trimming the azaleas between the end of the summer and spring will prevent blooms from forming.
Trimming
If your azaleas near a height you are pleased and have green leaves from top to bottom, then you will only need to do a light pruning by hand in order to reach your desired height. To prune by hand, you find the limbs that are too tall, follow that stem to the heart of the plant, and trim at this location. This is the key to maintaining a natural shape and promotes healthy new growth.
If your azaleas have grown too tall and/or the base of the plant is leggy and bare, then it is time for a more dramatic cut. Every few years, you can cut your azaleas down to half their original size. Additionally, remove any smaller limbs that are not producing leaves. Azaleas are extremely hardy plants and will begin to leaf out at their new height.
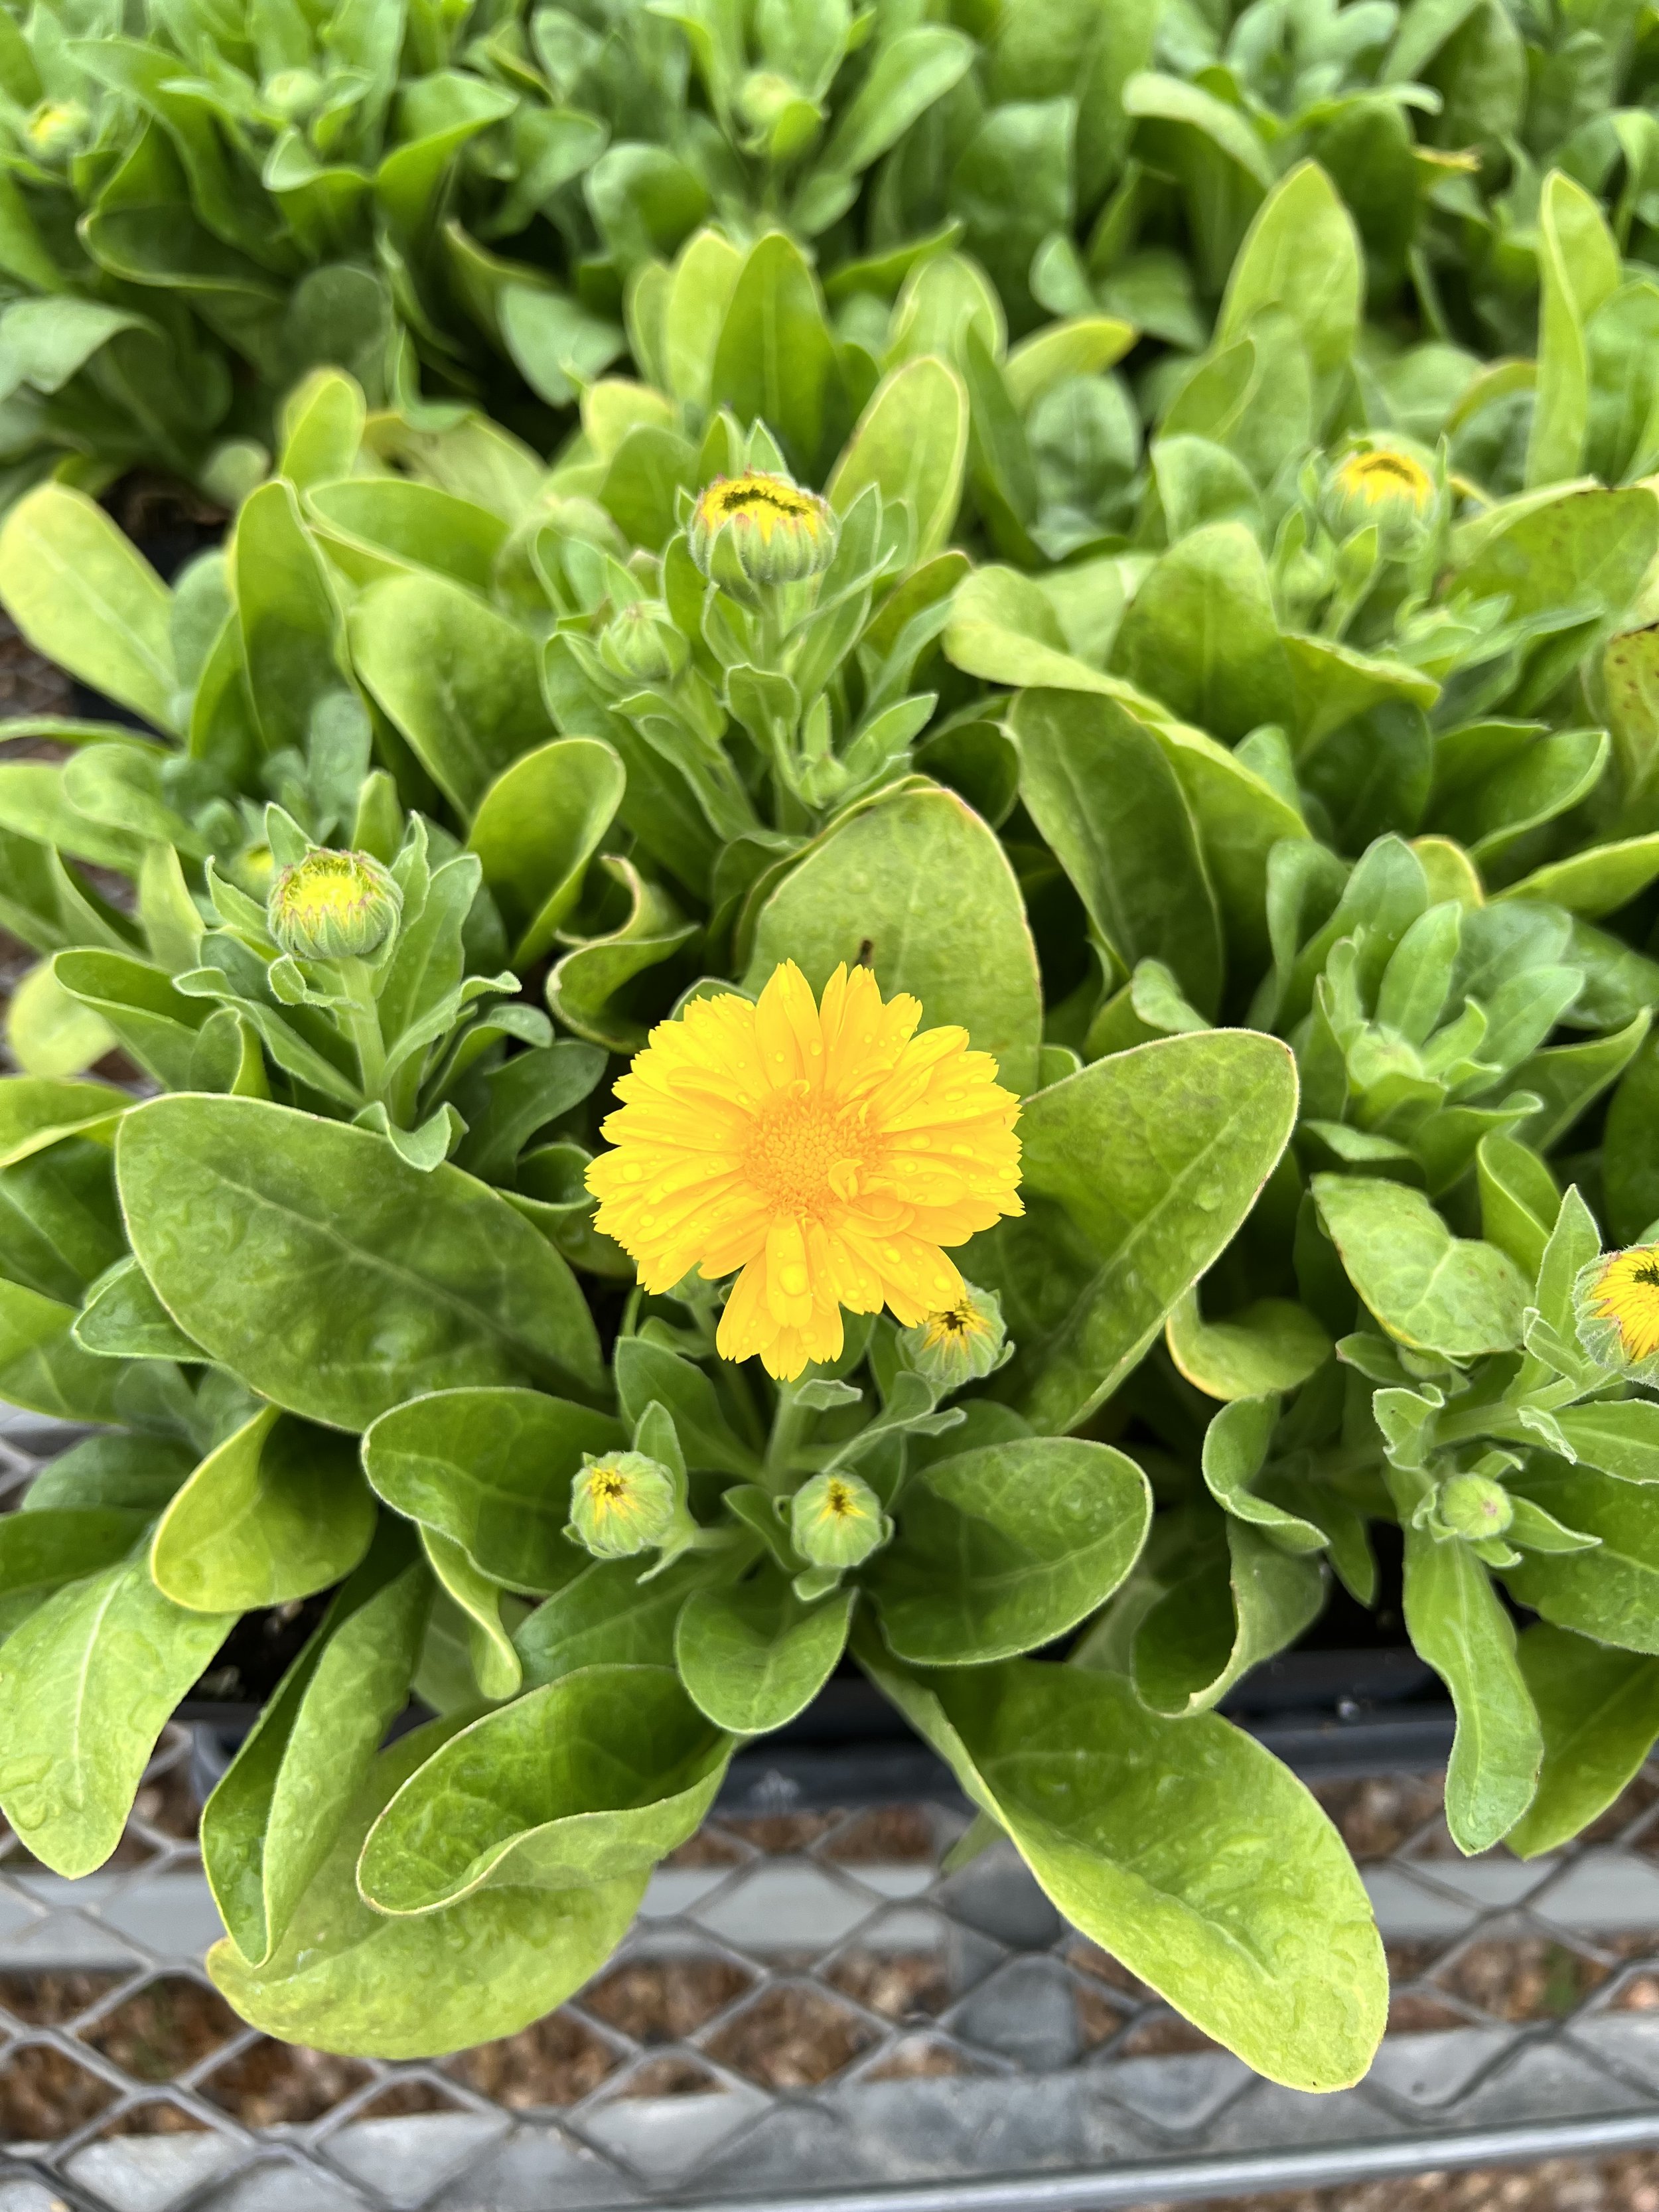
As always, be sure to apply finely screen, leaf-mold compost to your azaleas beds 1-2 times per year. For an added bonus, mulch with pine straw to add acidity back in to the soil for these acid loving shrubs.

Continued Care
Once your azaleas have been trimmed and shaped for the year, it is time to begin fertilizing for next year’s blooms. Three to four times per year, I recommend spreading MicroLife Acidifier. This organic, granular fertilizer slowly releases food especially design for azaleas, roses, and other acid loving plants.
Established plants will soak up the nutritious Ocean Harvest fertilizer from MicroLife! Ocean Harvest is absorbed through the leaves and the roots to quickly boost plant health and help the plant be resistant to stress, pest insects, and disease.
Lastly, as we move into a warmer season it is important to protect your azaleas against pests. One of the most common pests that attack azaleas are lace bugs. I would advise that you use a preventative systemic, such as Safari, to prevent the lace bugs from attaching to your plants in the first place.


Pre-Spring Trimming
Seasonally Appropriate Trimming to Make Way for New Growth
February 12, 2024
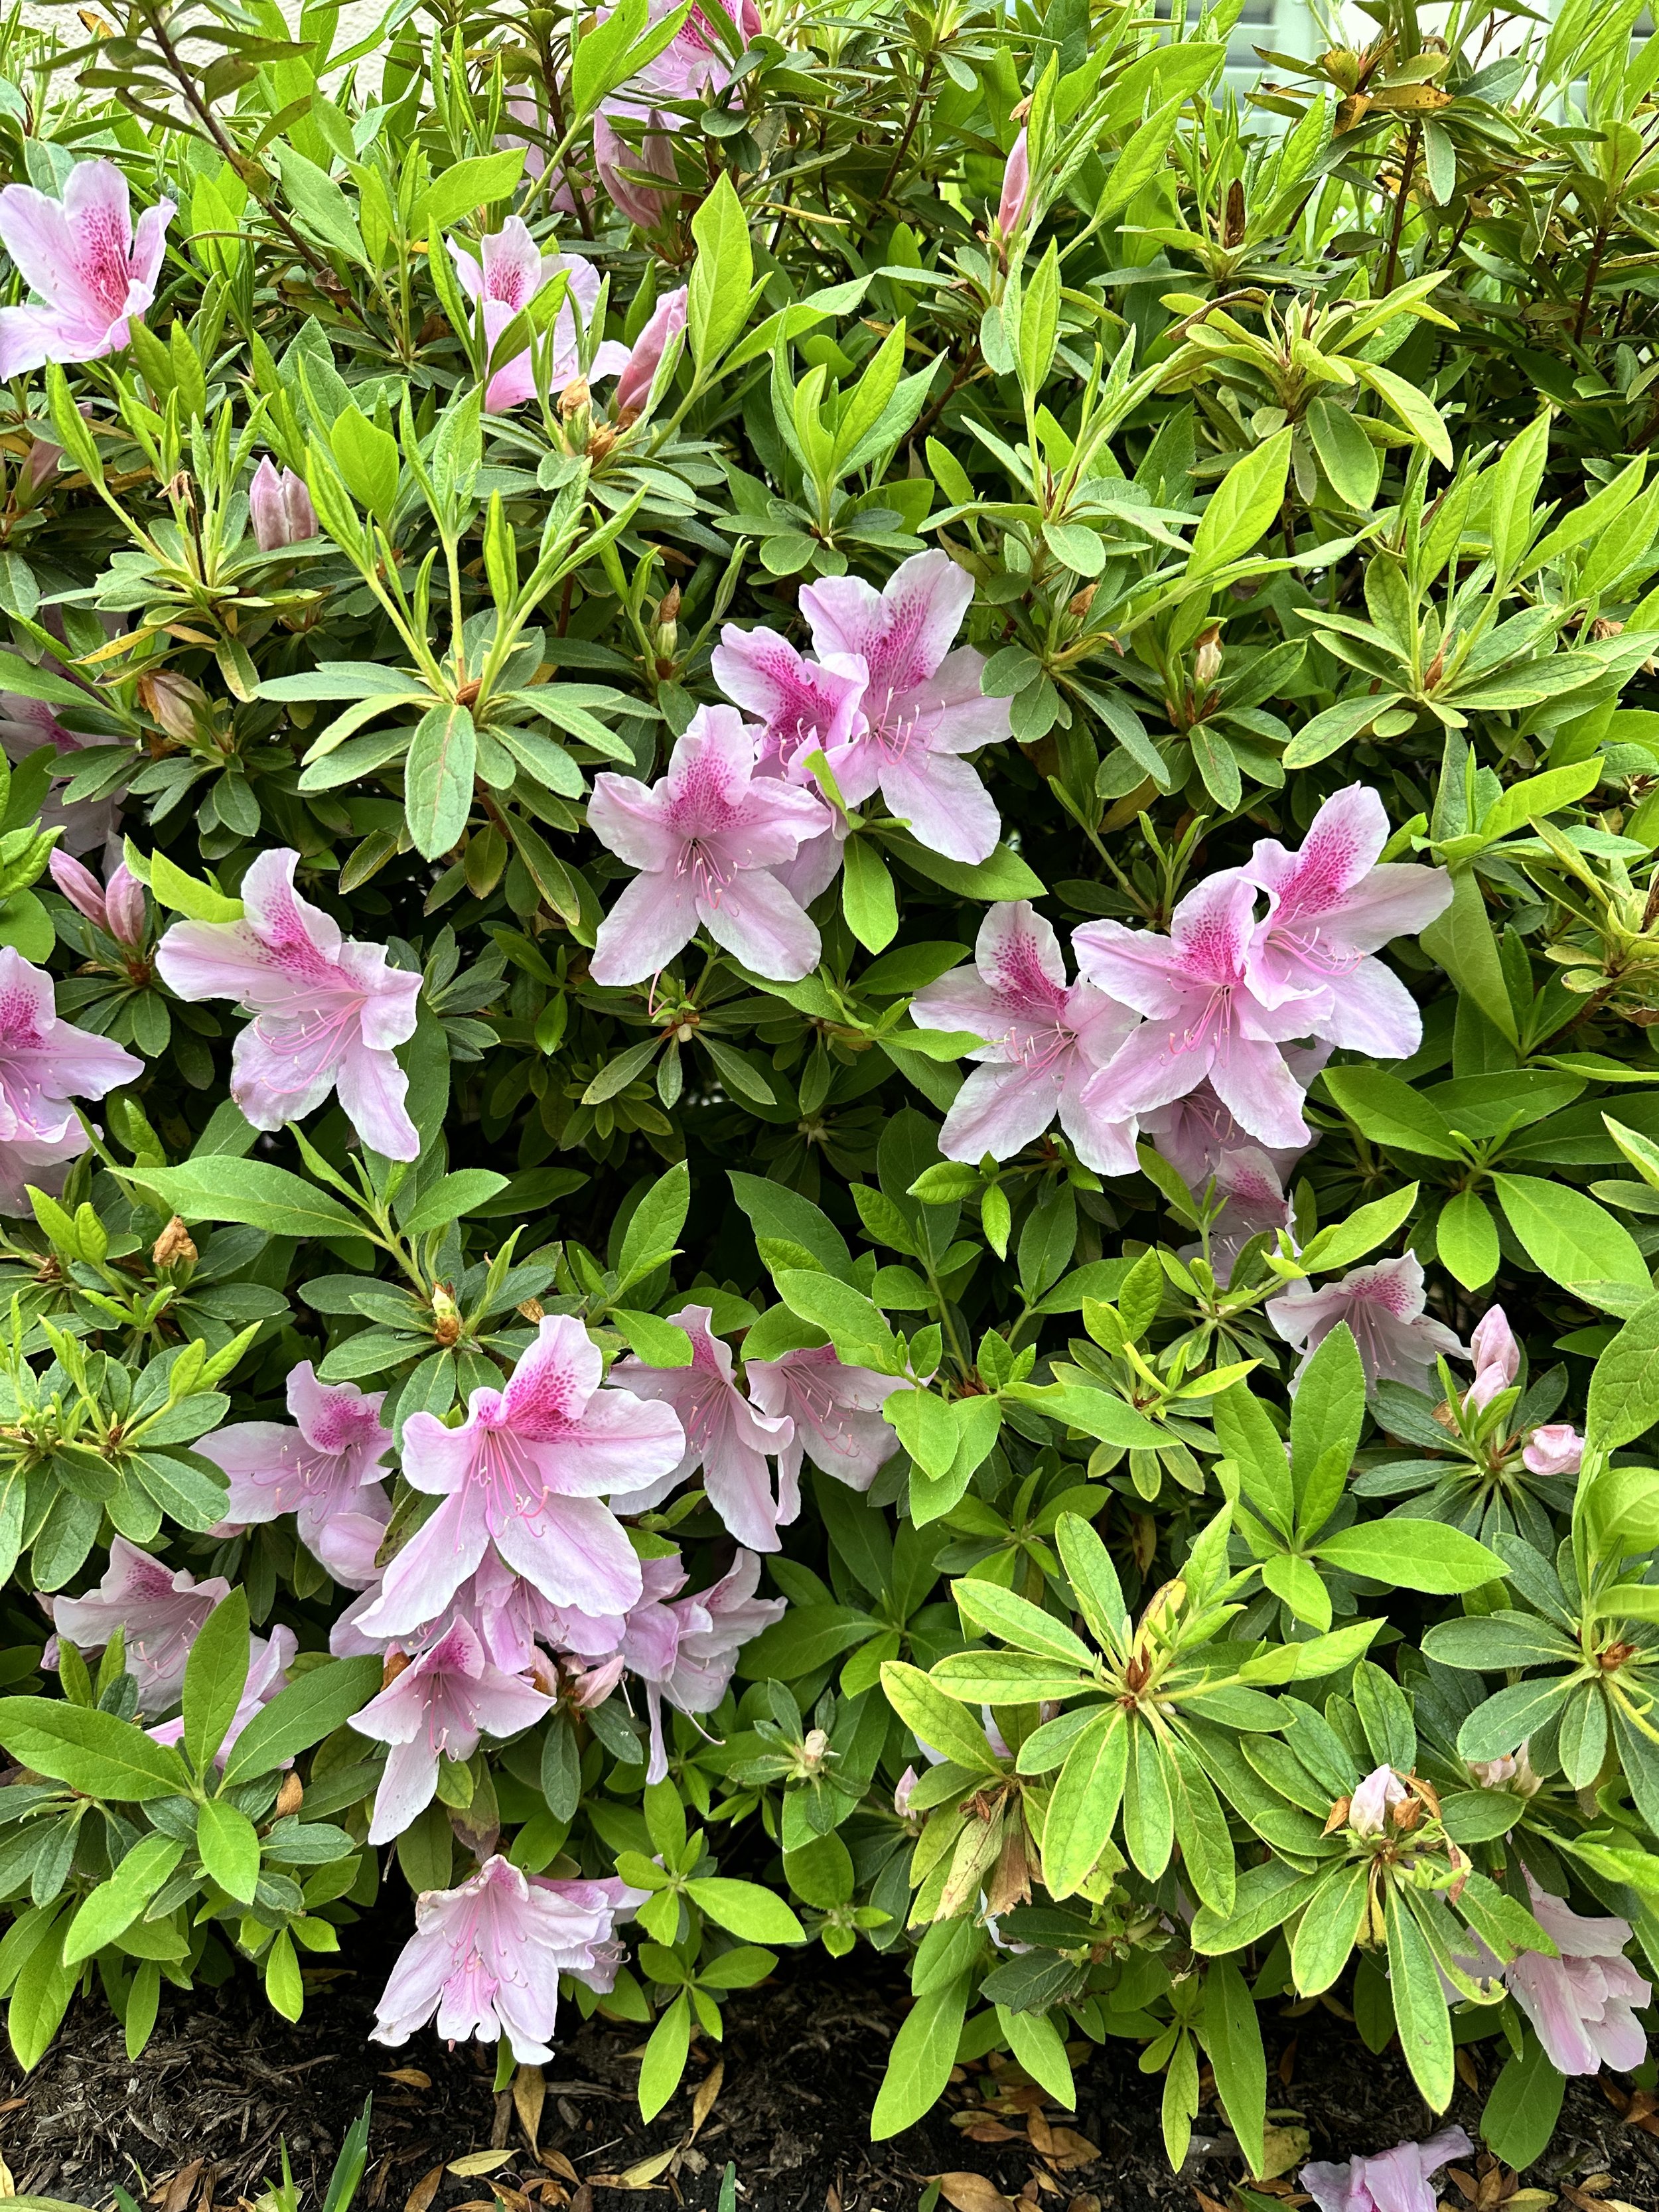
The number one rule, when it comes to ensuring beautiful Indica Azalea blooms, is to not trim them until after they have bloomed! Even if they look dead on the tips, wait to trim so that the plant does not become more stressed out.
Once the azaleas have bloomed, feel free to trim them a little bit or even trim them half way down (if the plants have over grown the space). Trimming is very important because it promotes new leaf growth and prevents them plant from developing a leggy look.
Don’t Touch the Azaleas Yet!
In order to keep your ground covers from overwhelming a space it is important to perform a heavy trim once a year. Once the plants are well established, cut them back to be 1”-2” above the ground. Make sure that your blade are very sharp so that you have a clean cut (clean cuts prevent disease). Like all plants, regular trimming helps to promote new growth and fresh, beautiful leaves.
Examples: Liriope, Giant Liriope, Monkey Grass, Wedelia, Asian Jasmine, Star Jamine, Sandy Leaf Fig Ivy, Lysimachia, Sedum, Ruellia
Cut Back Ground Covers
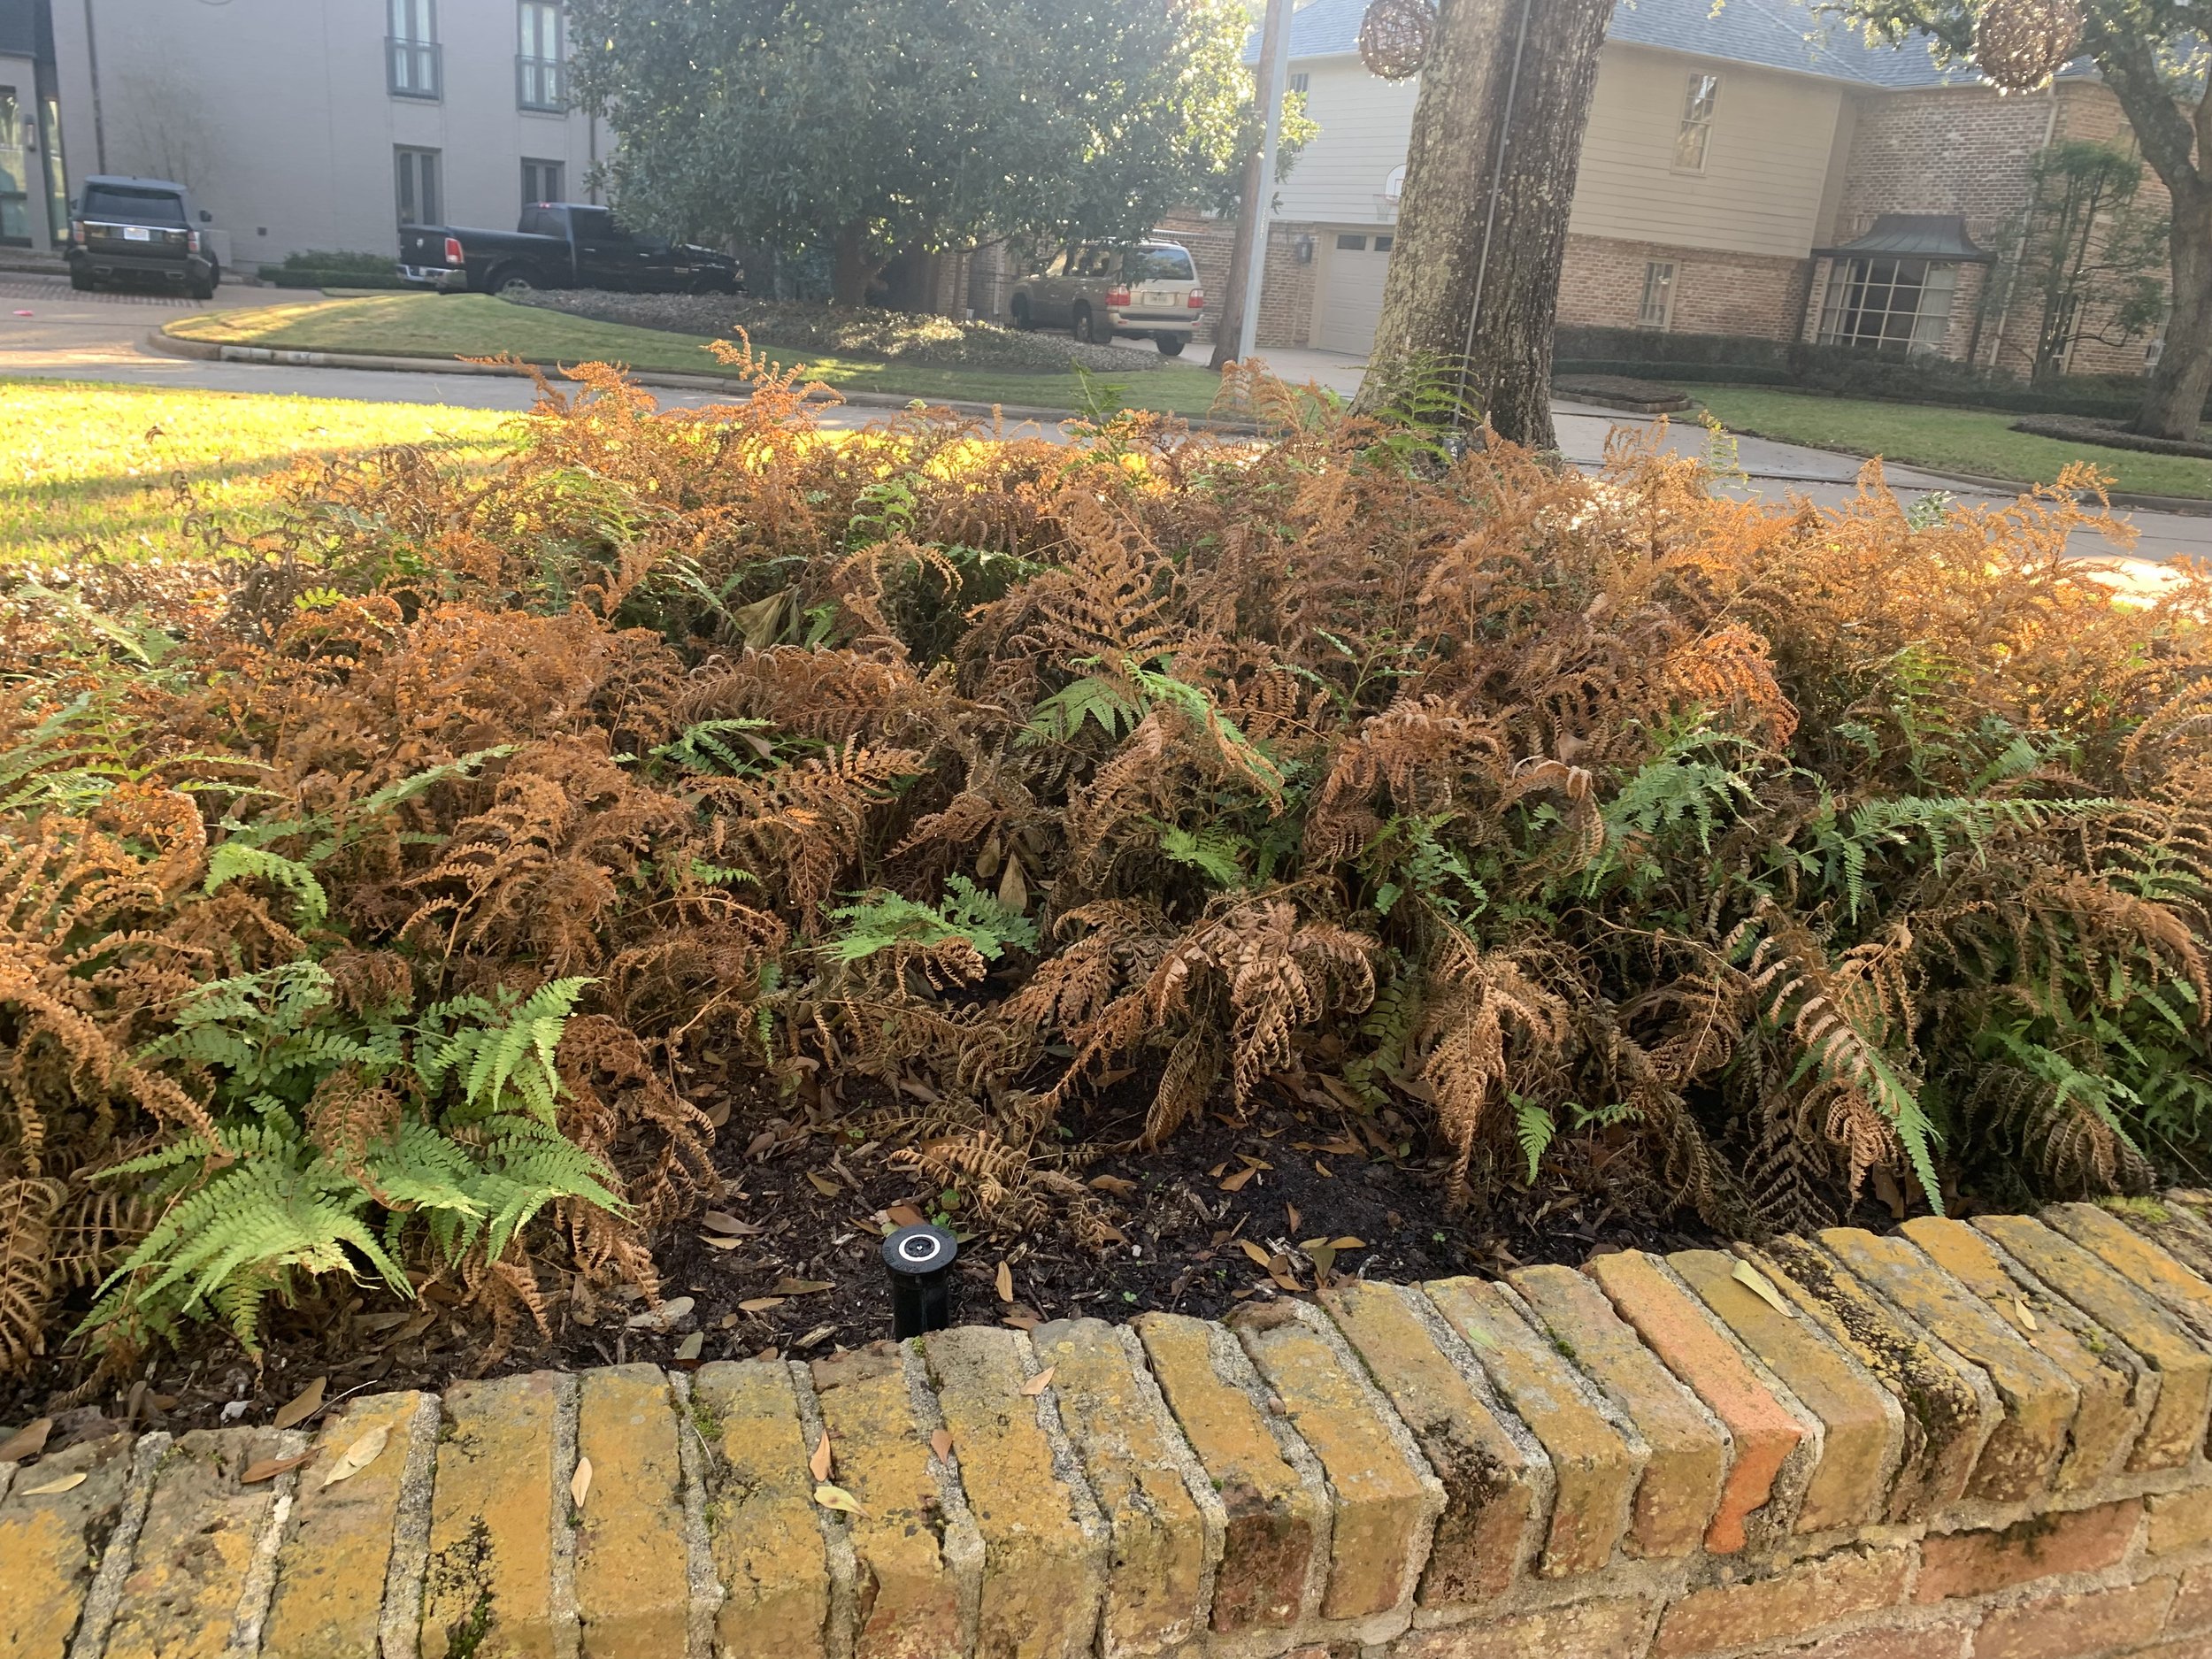
Additional plants that benefit from a heavy trim at the beginning of Spring, are ferns, iris, and dianella. Just like the ground covers, they should be trimmed down to 1”-2” above the ground. Continue to remove the dead fronds/leaves throughout the year.
Examples: Butterfly Iris, Walking Iris, Louisiana Iris, Dianella, Lace Fern, Holly Fern, Foxtail Fern, Macho Fern
Leafy Greens: Ferns, Iris, Dianella
While most perennials are still in a dormant state, now is a wonderful time to do a heavy trim on them to make way for fresh growth!
Examples: Salvias, Lantana, Turks Cap, Almond Verbena, Lespedeza, Guara, Plumbego, Porterweed, Buddleia, Shrimp Plant, Russelia
Perennials

January/February Garden Care
January 29, 2024
Despite warmer temperatures and the promise of Spring peaking just around the corner, we have not gotten the all clear from Punxsutawney Phil. Because of this, it is important to sit tight and let your garden heal from the roots up. While we wait to make any big trims or replace what did not survive the freeze, there are several things to do to prep the garden for Spring!
Aerating Lawns & Applying Humates
End of January & Beginning of February are wonderful times to aerate your lawn and apply Humates to build up the health your lawn! Both St. Augustine and Zoysia lawns have gone dormant for the season so now is the perfect time to prep for spring. MicroLife has a wonderful Humates Plus organic product that is available at most garden centers in Houston. Aerators are available for rent at Home Depot.
Trimming Crape Myrtles & Ornamental Grasses
While it is best to wait a few more weeks to trim most plants that the freeze burned, it is the perfect time to trim Crape Myrtles and Ornamental Grasses. In order to prevent knotty growths and to not be accused of “Crape-Murder”, the rule of thumb is to only trim branches that are the size of a pinky finger or smaller. Throughout the year, continue to trim any leafy branches that are not in the canopy (in order to keep it from becoming a shrub) and trim off the seed pods so that more blooms will occur.
January is also the time of year for Ornamental Grasses (Muhly, Adagio, Carex, etc) to get their annual hair cut. Trimming Grasses on an annual basis allows the plant to maintain its ethereal character and for more feathery plums in the fall. Example photo seen on the left.
Ornamental grasses are a wonderful addition to any garden! Pick a spot that has very good drainage and receives at least 6 hours of sunlight a day. Once established, these low maintenance plants need very little supplemental water to thrive and are very resistant to pests.


Plant Ornamental, Flowering Trees
January and February are the perfect time to plant ornamental, flowering trees. Just in time to see them bloom!
Here are some of my favorite options:
Saucer/Tulip Magnolia
Butterflies Magnolia
Taiwan Flowering Cherry (pictured to the right)
St. Luke’s or Mexican Plum
Fragrant Snow Flowering Apricot
Peppermint Peach
Chinese Fringe Tree
Forest Pansy Redbud
Montrose Purple Vitex
Rough Leaf Dogwood
Apply Super Seaweed for Root Health
Right now, it is all about protecting and fortifying the roots of the plants! MicroLife has a wonderful product, Super Seaweed, that promotes health root growth and makes the plant more resistant to stress, pest insects, and disease. It can be used multiple times throughout the year and is especially helpful with new plants. And as with all of MicroLife’s products, they are 100% Organic.


Post Freeze Care
What to do and what not to do after a hard freeze has hit your garden
January 22, 2024
Be patient when it comes to pruning damaged foliage over the next several weeks. Pruning too early can cause the plant to go in to re-growth mode, leaving the extra plant vulnerable if another cold snap were to come. Often times, the plant will make a full recovery if left alone! Just be sure to add mulch, compost, or leaf litter on the roots to continue insulating the plant.
The one type of foliage to be sure to remove is anything that is mushy or slimy. Examples of this would be Agapanthus, Gingers, Crinum Lilies, Amaryllis, Cyclamen, etc.
If you have not done so already, then remove you plant coverings/frost cloth ASAP! Keeping the cloth on can harm the plants as the temperatures begin to rise and the plants need to get as much water as possible to the roots. Before you pack away your frost cloth, be sure to label which bed it was used to cover. This will save you from having to spend extra time measuring/cutting the next time the temps drop below 30F.
Step 1: Remove Frost Cloth and Water Plants Well
Step 2: Wait to Prune, Remove Mushy Foliage
Step 3: Wait to Fertilize
Another way to protect your plants is to refrain from fertilizing at this time. Fertilizing can burn plants that are already under stress and can leave them vulnerable to damage should another cold event take place.
Fungicide can be added to seasonal color beds to prevent fungus from developing.
Step 4: Be Patient!
We are not out of the clear for inclement weather; however, Spring is right around the corner!

Prepping Your Garden for Winter
November 27, 2023
There is finally a real chill in the air and the Holiday Season is about to ramp up in a big way! Luckily, this means it is time to put most of your hardworking garden to rest for the winter. Here are a few Garden Tips to get your garden prepared for winter so you can begin dreaming of Spring blooms!
Decrease Irrigation
Set your irrigation controller to run 1 to 2 days per week this time of year. Trees, shrubs, and sod are beginning to go dormant and do not need the additional water at this time. If your have a separate irrigation zone for Winter Annual Color or pots, then I would recommend running it 3 times per week (less if we receive rain, more if the temperatures trend warmer). If you do not have a separate zone for Winter Annual Color or pots, then I would recommend hand watering a couple times a week to make up the difference.
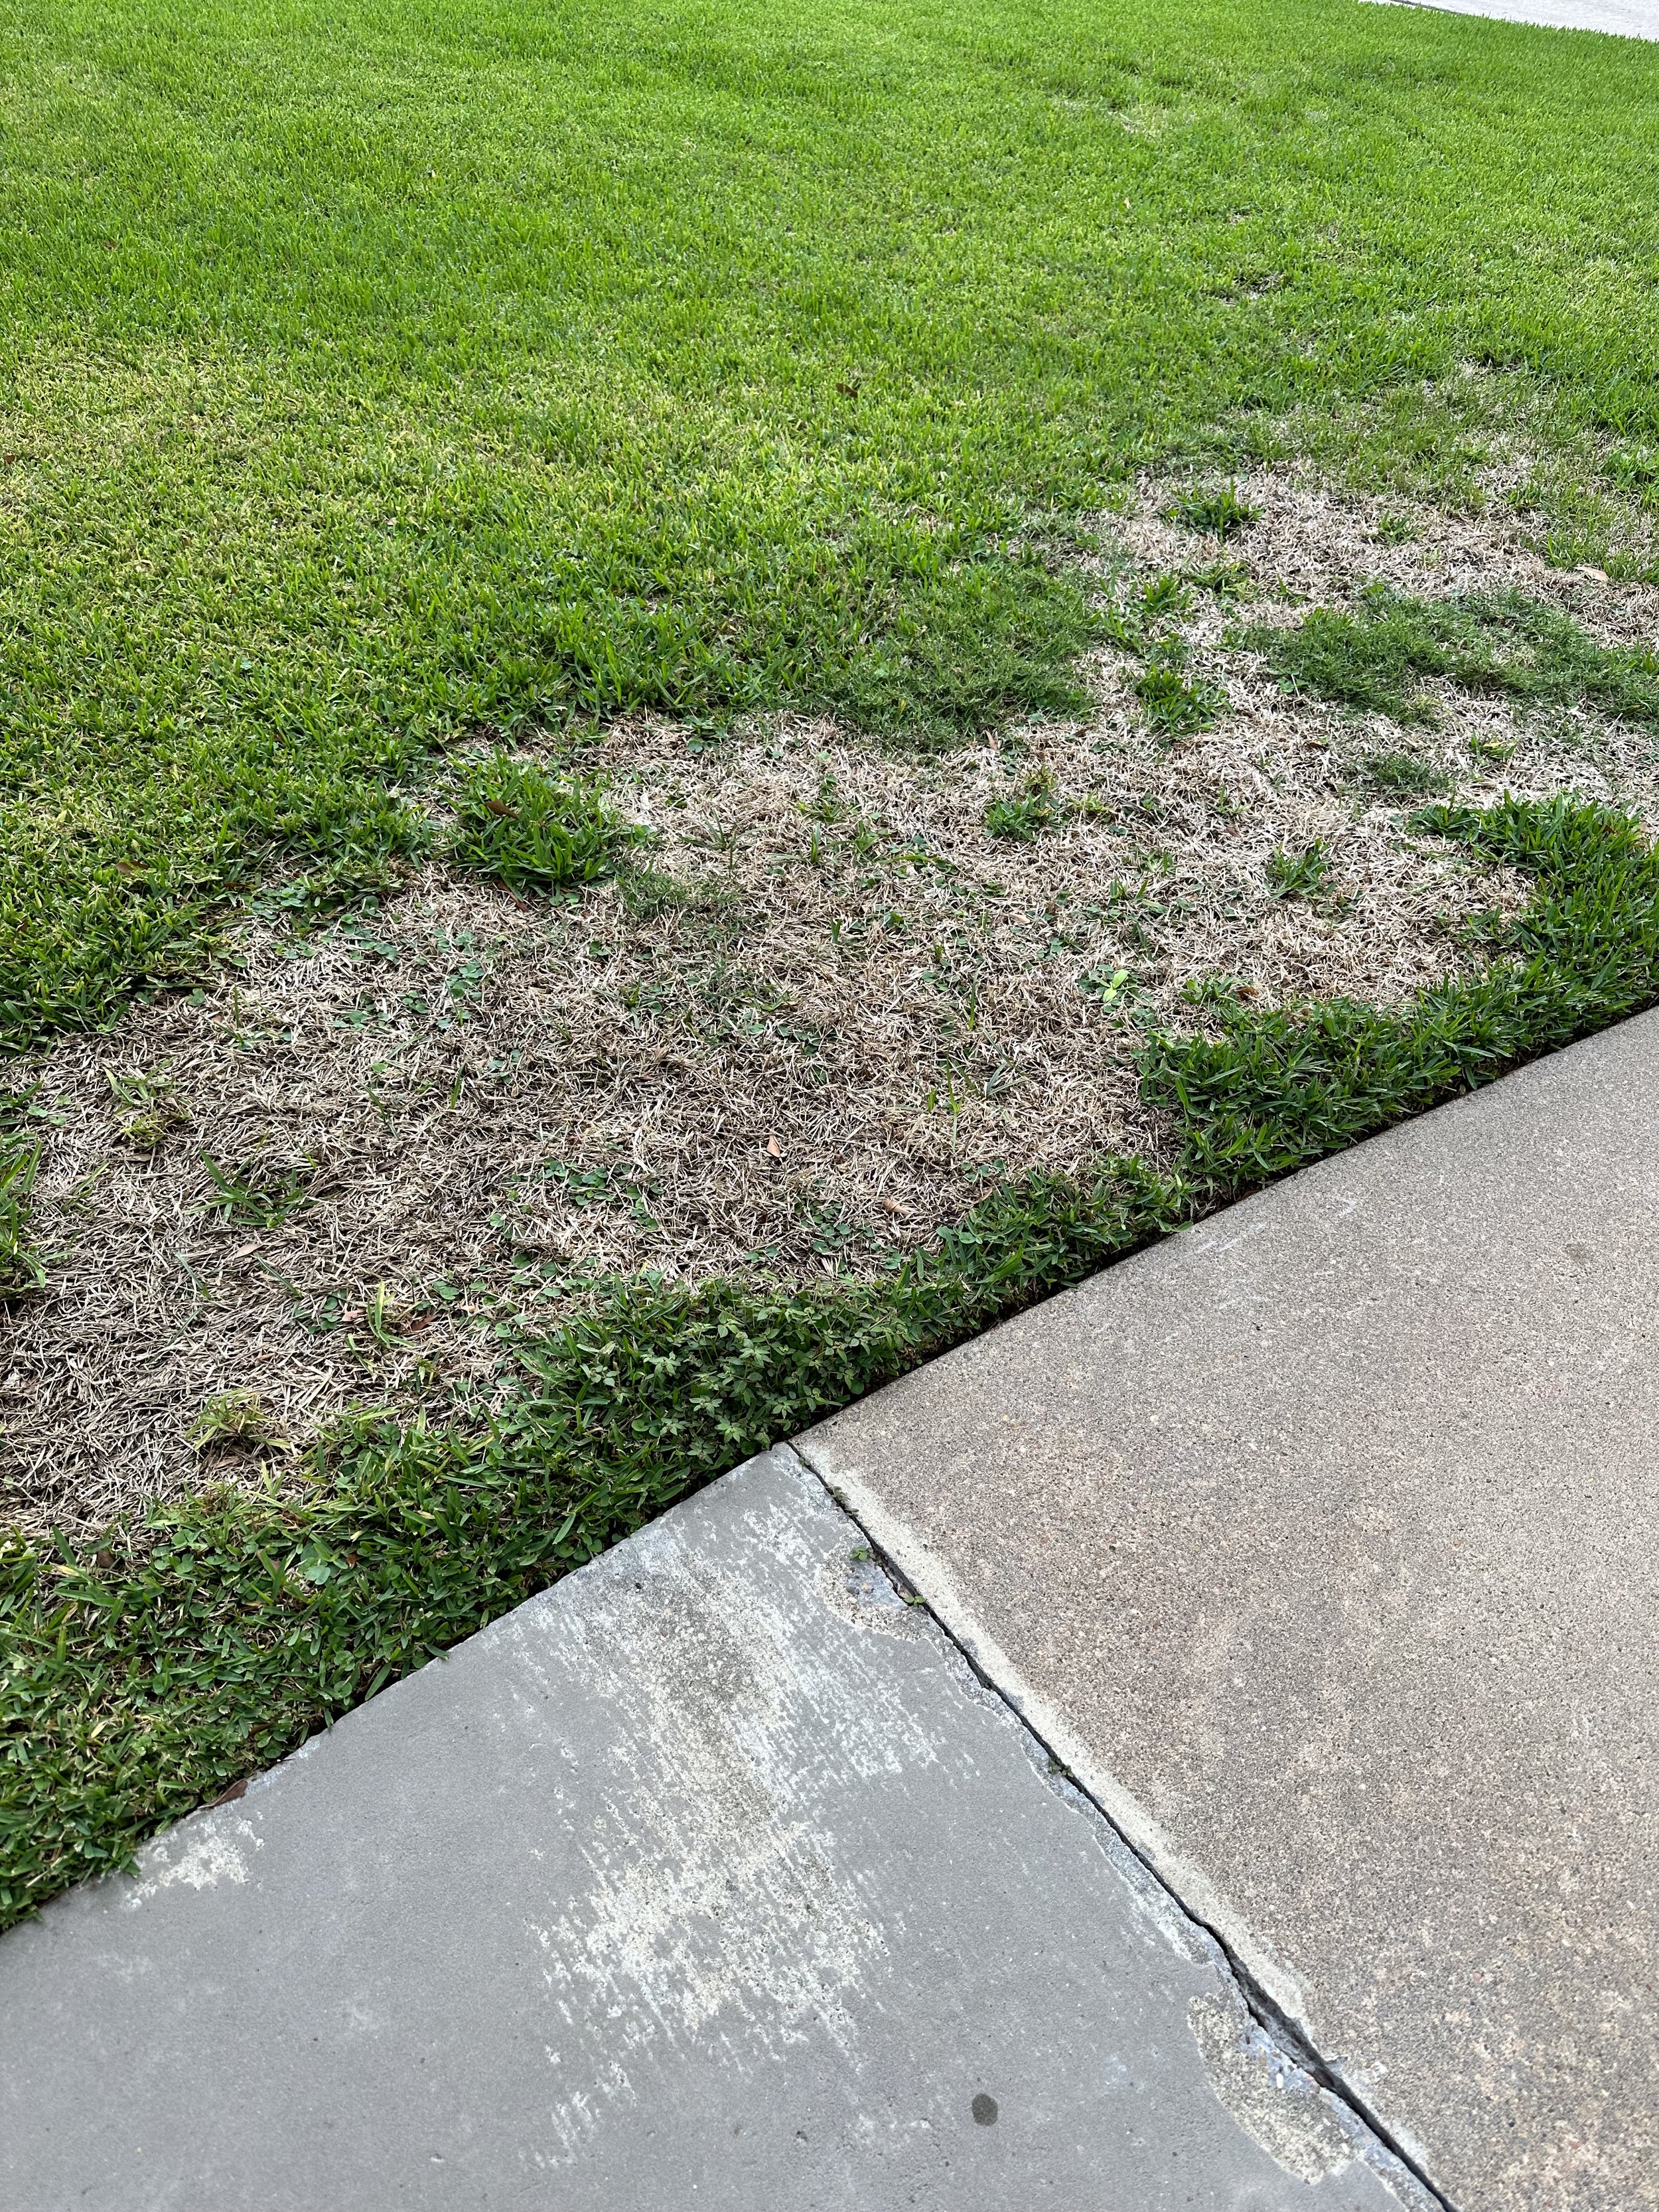
Decreasing the number of days you water your plants helps to decrease the likely hood of Fungal Diseases from creeping in to your yard. This is especially true of Brown Patch in lawns.
If temperatures regularly dip below freezing, then it is time to turn off your irrigation system altogether. I will have more information on prepping your irrigation system for freezing temperature on next weeks Garden Tip!
Mulch & Compost with what You Have
Rather than throwing away all the fallen leaves and pine needles in your yard, use them to mulch your planting beds or save for composting! The leaves and pine needles will protect the roots of the plant through the cold months. Also, as they both break down, vital nutrients will be distributed in to the soil. Win-win!
Fun Fact: Pine needles are very acidic and will return that acidity to the soil as they break down. You acidic loving plants, such as Azaleas and Roses, will love this boost!
Plant Trees and Woody Shrubs
The Fall and early Winter are the perfect time to plant new trees and woody shrubs. The extra few months in the ground will give them time to establish their roots before the scorching Summer.
Tropical & Tender Plants
Now is the time to create a game plan for you Tropical and Tender plants. Cold snaps can come quickly and everyone will be rushing the hardware store for supplies. Set aside a spot in the garage for your potted plants to ride out sever Winter weather. They will be protected from the harsh winds and the freezing precipitation. Purchase Frost Cloth to help protect the leaves and blooms of plants that can not be moved. The cloth will not save a plant from freezing temperatures; however, adding extra mulch or leaves to the base of a tender plant will help protect the roots.
Seasonal Color Change
It is time to remove your Annual Flowers, from the Summer, and replace with seasonally appropriate blooms and bulbs. Reach out if you would like help deciding what to plant or if your would like me to come freshen up your Pots and Color Beds!
staley.scapes@gmail.com


Amaryllis & Narcissus Bulbs
A Guide to Planting and Caring for Your Bulbs in Pots and in the Ground
November 13, 2023
Amaryllis take 6-8 weeks from planting to first bloom so the months of October and November are the best time to get them in the ground for maximum blooms through the winter.
Narcissus Ziva (commonly known as Paperwhites) take roughly 45 days from planting to first bloom. If you are looking to have these fragrant flowers on full display for Christmas Day, then this week is the time to get them in the ground.
Both Amaryllis and Paperwhite Bulbs can also be planted in pots and kept in a sunny spot inside one’s home.
When Should I Plant My Bulbs?
Preparation and location are key!
Both Amaryllis and Narcissus Bulbs to not need to be planted very deep in Houston. Amaryllis should be planted at ground level with just the neck of the plant showing. Narcissus can be planted right under the surface with pointed part facing up. When planting in a pot, the same planting depth is recommended.
Both bulbs need sunlight in order to bloom. Make sure that the planting location has at least 3-4 hours of sunlight in the winter. Bulbs kept inside should be placed in a sunny window.
How do I plant my Bulbs?
Once planted, water the bulbs very well the first time. For subsequent waterings, water just enough to dampen the soil but not enough that the bulb is sitting in water.
Bulbs kept inside should be rotated every few days to keep the bloom upright (they grow towards the light). Add supports to bulbs if needed.
Once Paperwhite Bulbs have finished blooming they may be thrown away. There are other varieties of Daffodils that will naturalize (Ice Follies, Mount Hood, Tete a Tete, etc); however, Paperwhites are not one of them.
Once your Amaryllis Flower has lost its bloom, simply trim the stalk at the base and wait for the next bloom. If you would like to keep your bulb for another season, then you can add it to your garden or a large pot where it can rest until next year! Trim off any remaining flower stalks and plant in an area that has great drainage and will not get scorched by the summer sun. The green, strapy leaves will be a reminder for the winter bulbs to come.
Caring for my Bulbs

Winter Seasonal Color Installation
Winter Cooler Weather is Coming!
November 7, 2023
Cooler temperatures are in the forecast and the annual seasonal color from the summer is reaching its final blooms for the year. This means it is time for a refresh! But before you plant your new color, you need to make sure that your beds are prepped and ready.
Once the old seasonal color is removed, break up the soil with a shovel and mix in new Garden Soil. Next, add a fertilizer with fungicide (I am a fan of Color Star Plus https://nelsonplantfood.com/products/colorstar-plus-12-5lb?variant=39372515213356 ) to the fresh soil and gently mix it in. Lastly, it is time to chose the perfect plants for the amount of sunlight the beds will receive. Plants that are in the incorrect sun exposure will rarely do well and blooms will be minimal.
Full Sun (6+ Hours)
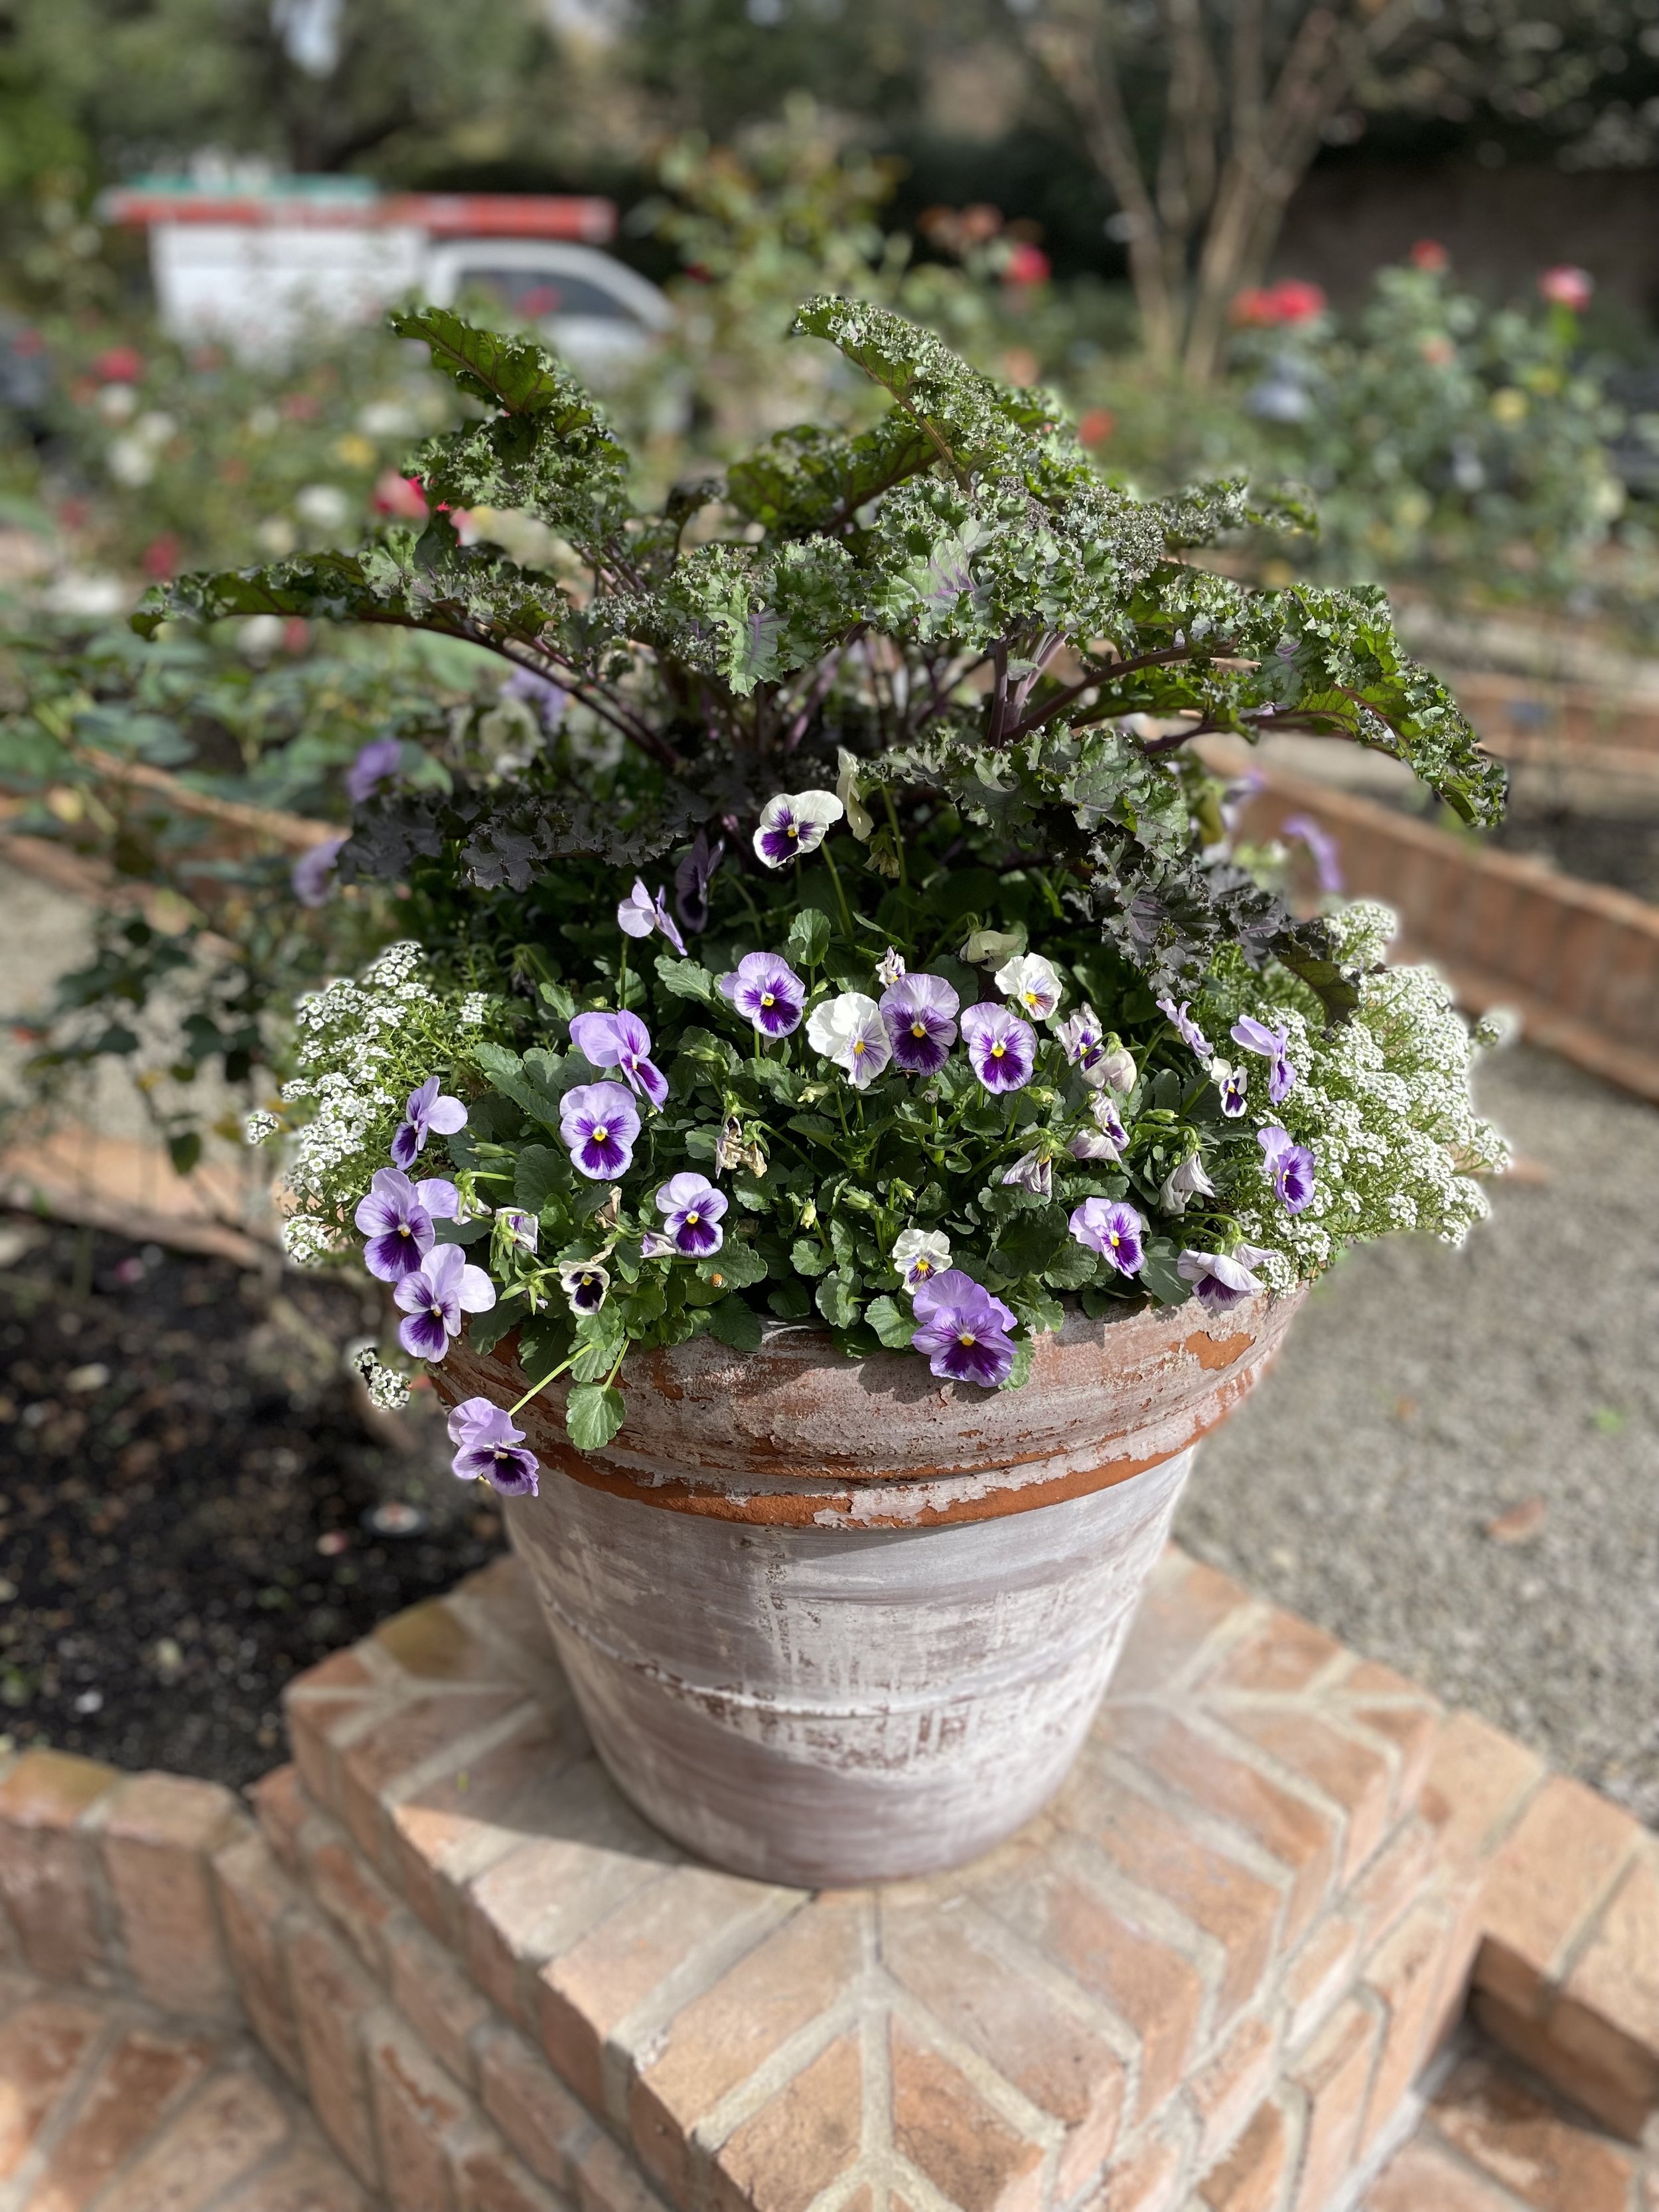
Alyssum, Bellis, Calendula, Cyclamen, Dianthus (Short & Tall), Digitalis, Dusty Miller, Cabbage/Kale, Foxglove, Icelandic Poppy, Lobelia, Pansy, Snapdragon, Viola
Middle/Low Sun
Cyclamen, Dianthus (Short), Dusty Miller, Cabbage/Kale
Cyclamen Specific Planting Tip
Before planting Cyclamen, make sure to soak each plant in a liquid fungicide mixture (check bottle for water mixture amount) and continue to treat with a Foliar Fertilizer (such as Microlife Ocean Harvest) throughout the season. The root ball of the plant in very tender and easily infected. Planting is a well ventilated area is also a must for Cyclamen.
Trimming Color
In order to keep fluffy and full plants, from the top to the bottom, it is important to trim your seasonal color once it gets too tall and the blooms are spent. Once a stalk of a Snapdragon, Digitalis, or Foxglove finishes blooming, cut the stalk off at the base of the plant so that the plant has energy to grow a new stalk rather than continuing to stretch. For Dusty Miller, trim any flower stalks that grow so that the plant will not stretch.

Staley Scapes Tips
#1 If you have perennial plants in your bed, that still look really good, give them a heavy trim and incorporate in with your new winter seasonal color! In the photo above, you will see Yellow Lantana and Cuban Gold Duranta have been trimmed down and Cyclamen have been added in the open spaces. Other perennials that you can incorporate are Alternanthera, several varieties of Salvia, Mexican Heather, Sedums, and several more.
#2 Incorporate Ferns (Maiden Hair, Pteris, Asparagus, etc) and Ivies (English & Algerian) to add texture and dimension to Middle/Low light pots. You can see an example of this in the bottom left photo.
#3 Keep the beautiful blooms coming by Deadheading. Deadheading is the practice of removing the spent blooms of a plant by manually pinching them off. This is especially important with Dianthus and Calendula!


Lawn Aeration
A Guide to When and How to Aerate Your Lawn
October 30, 2023
Lawn aeration is the process of breaking up clay soil and compacted, high-traffic areas to allow roots to grow deeper and thicker. Additional aid comes through amending the soil by adding nutrient rich compost to the lawn.
What is Lawn Aeration?
The best time to aerate one’s lawn is in it’s active growing period so that the recovery time is quick! These times are at the beginning of Spring and in the Fall. In Houston (and other properties in Zone 9) early Spring falls in February and Fall occurs in Late October/Early November. Additionally, it is best to avoid aerating your lawn during or immediately after a period of high stress (such as treatment for disease or extreme temperatures). If your chose to overseed your yard with perennial Rye, then you must aerate before seeding, in the Fall, or after the seed goes dormant, in the Spring.
When and why should I aerate my lawn?
Preparation: Make sure that the soil is moist from a recent rain or the running of a sprinkler. Mark the location of your sprinkler heads so that you do not run over them with the machine. A marking flag is most frequently used.
Run your aerator over the entire lawn or the affected area up to four times. If you have a small area and would like to do the process by hand, then i recommend using this aerator (https://www.amazon.com/gp/product/B0CC8FZTNZ/ref=ppx_yo_dt_b_asin_image_o00_s00?ie=UTF8&th=1). You can also rent a professional aerator at Home Depot (https://www.homedepot.com/p/rental/Classen-Aerator-CA-18HD/316821717). Be sure to bring a friend to help with loading/unloading because it is heavy!
Rake the aerated area to break up the plugs, left by the aerator and remove the excess dead grass (if applicable).
Lastly, apply a fine layer of Leaf Mold Compost to the aerated lawn. I most recently used the Aged Leaf Mold Compost from Heirloom Soils of Texas (https://www.heirloomsoilsoftexas.com/product/aged-leaf-mold-compost/). The compost will slowly break down and absorb over the next few weeks. Grass will go dormant over the weekend but you will see the full results of your labor in the Spring!
Step by step guide to aerating your lawn:
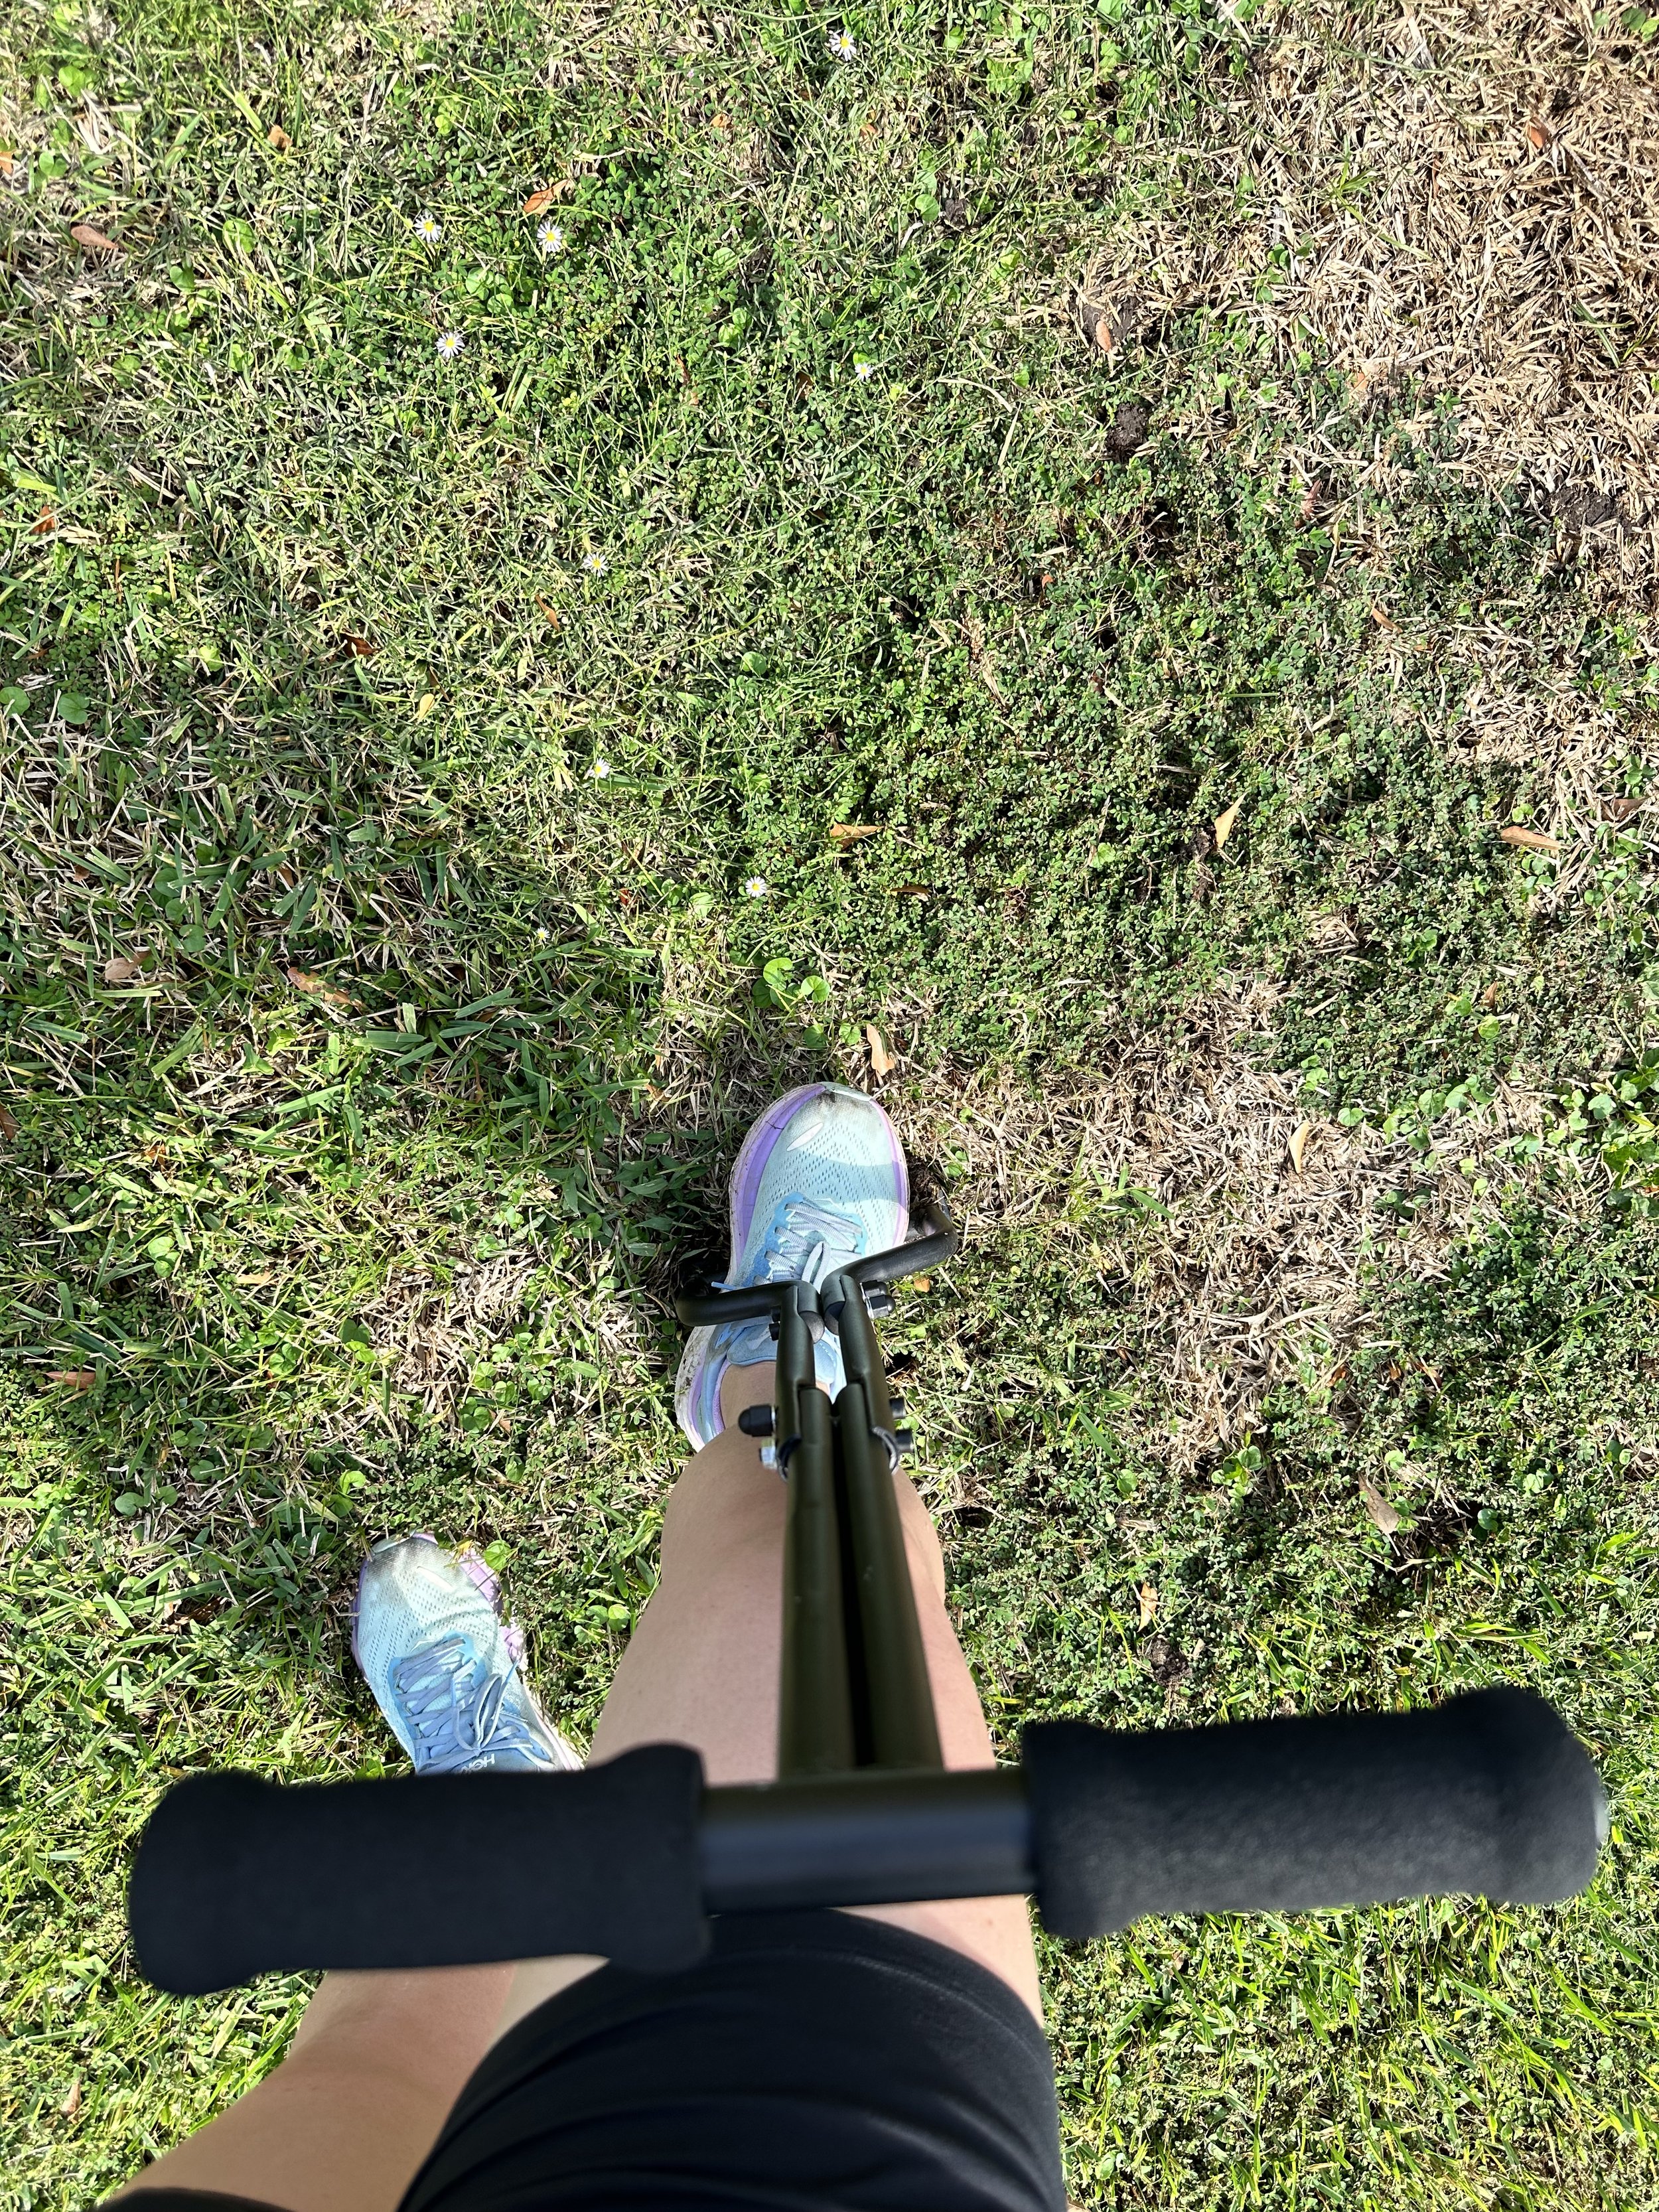
I used a step aerator (looks like a pogo stick) to treat the damaged area. I chose to only treat specific areas because I aerated my full yard in the Spring.
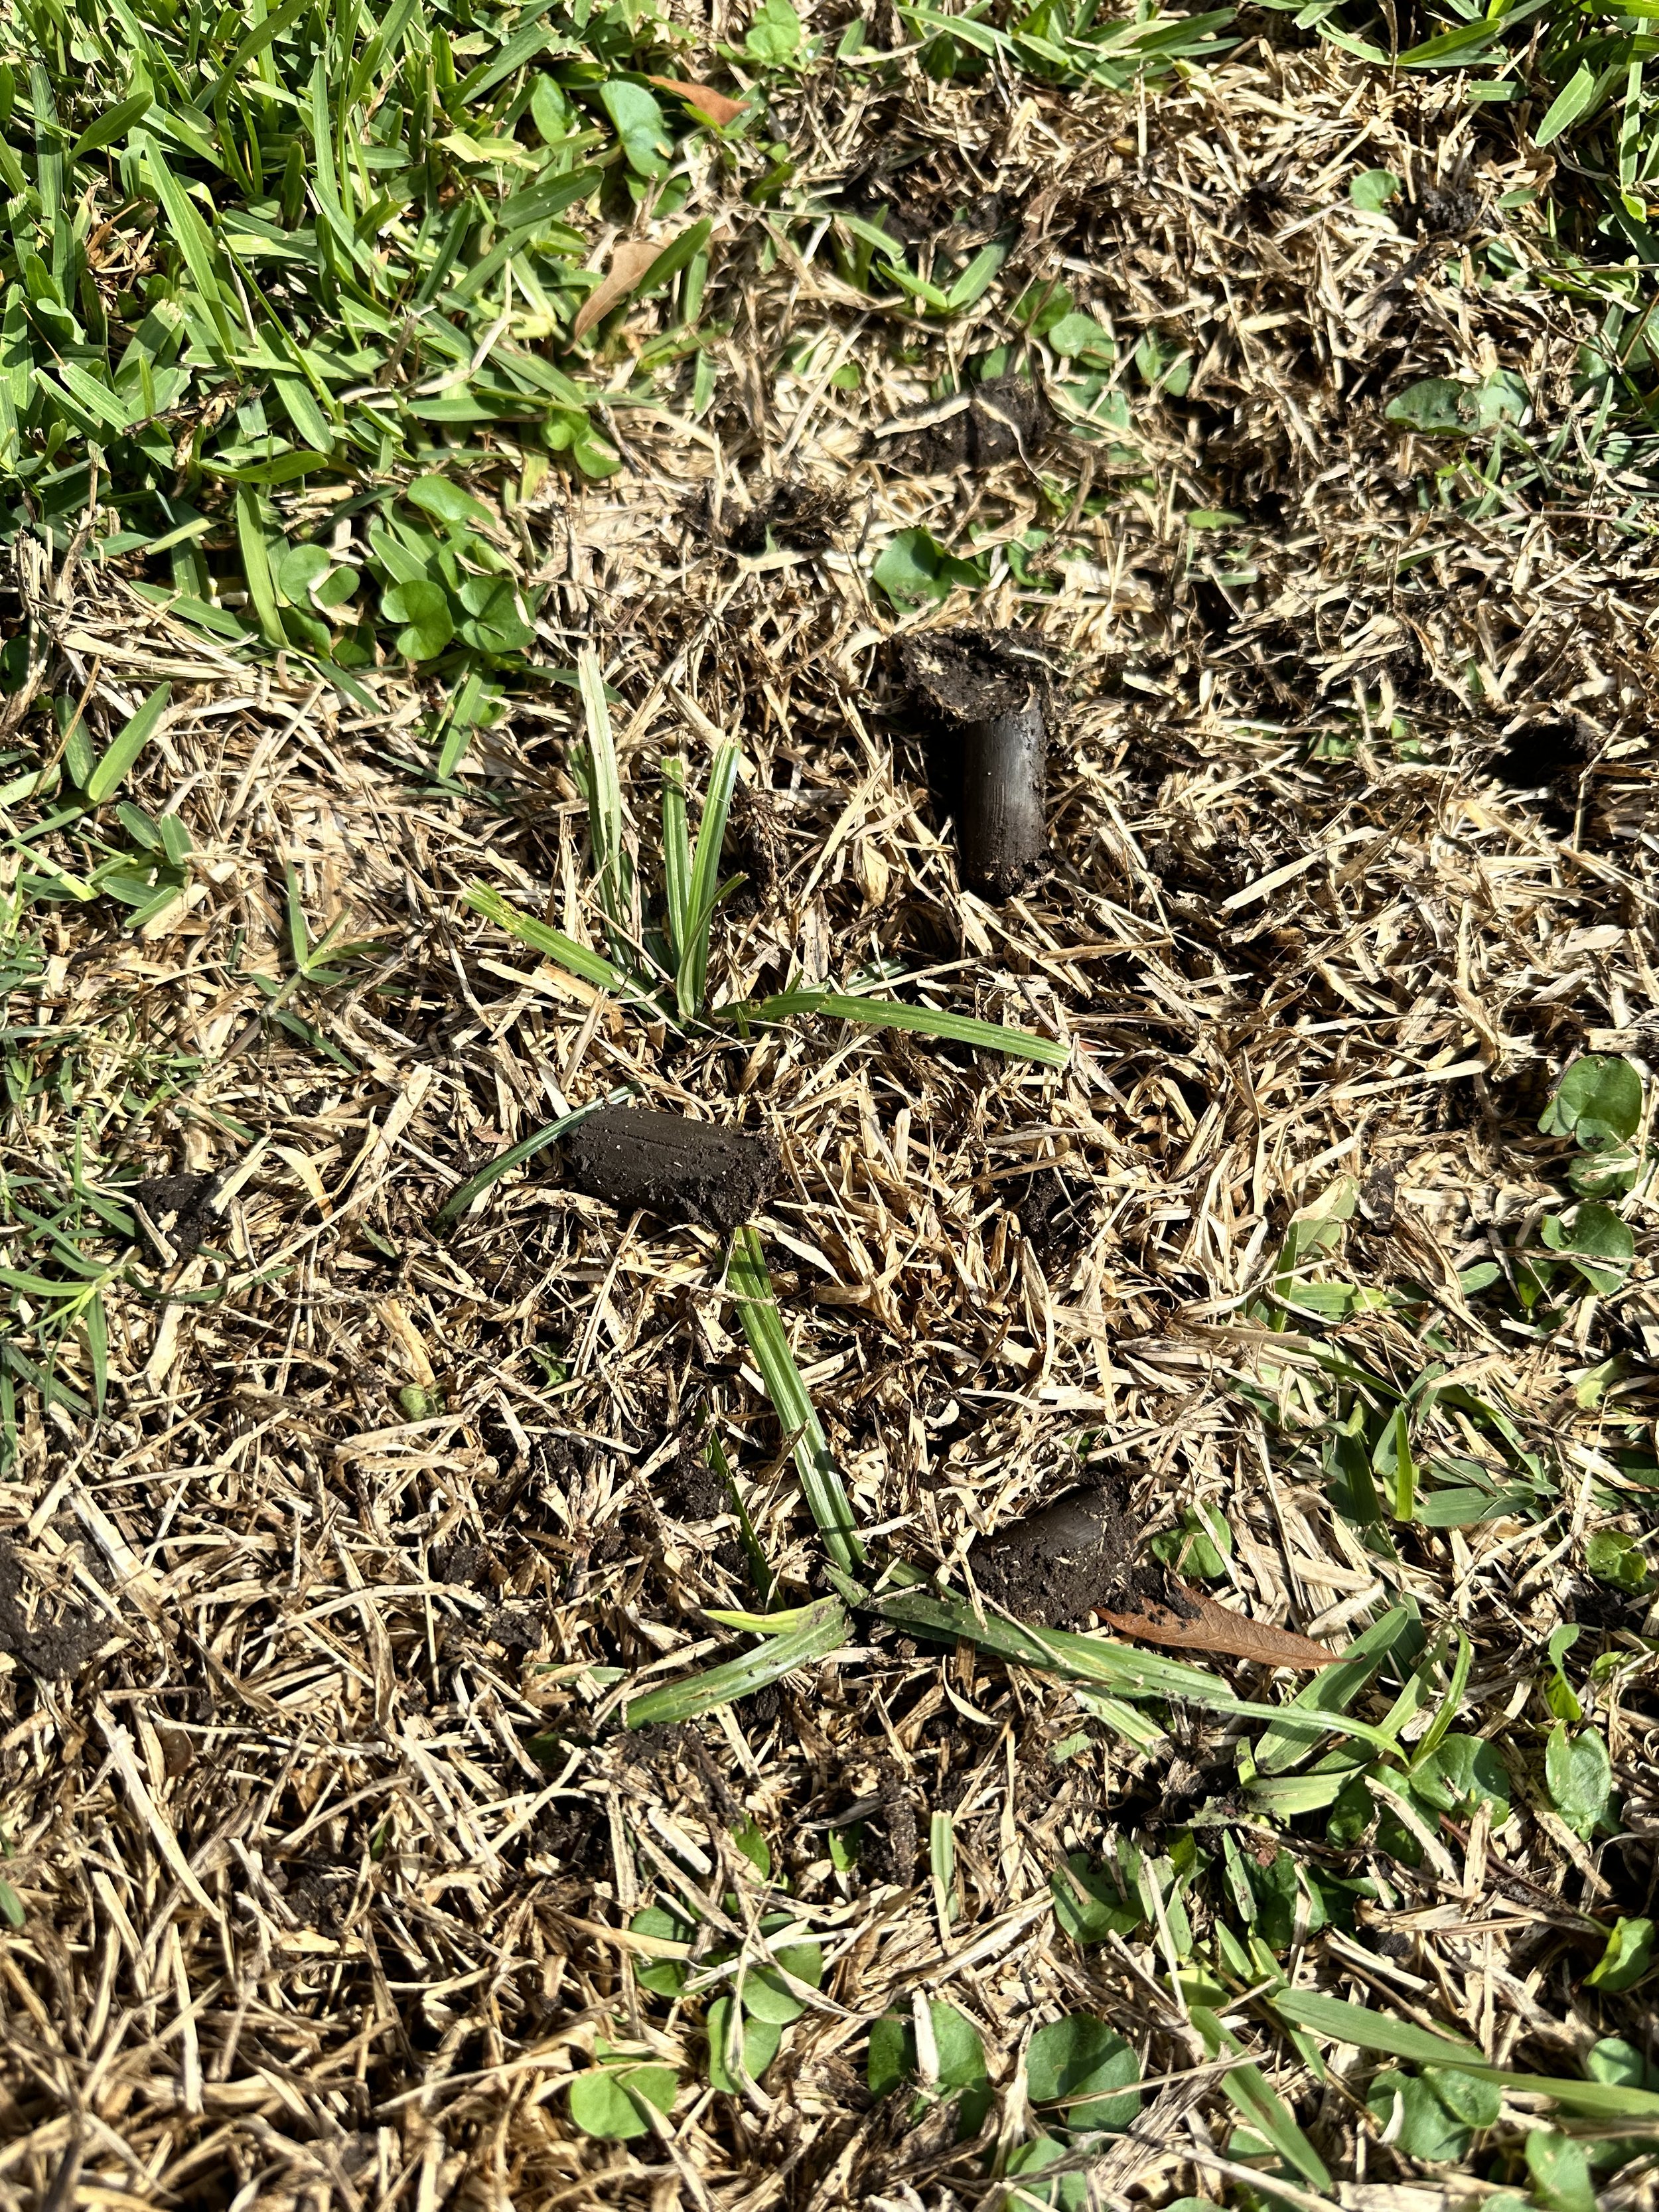
The aerator will pull up small plugs of dirt (as seen above). Leave these in the lawn for the next step!
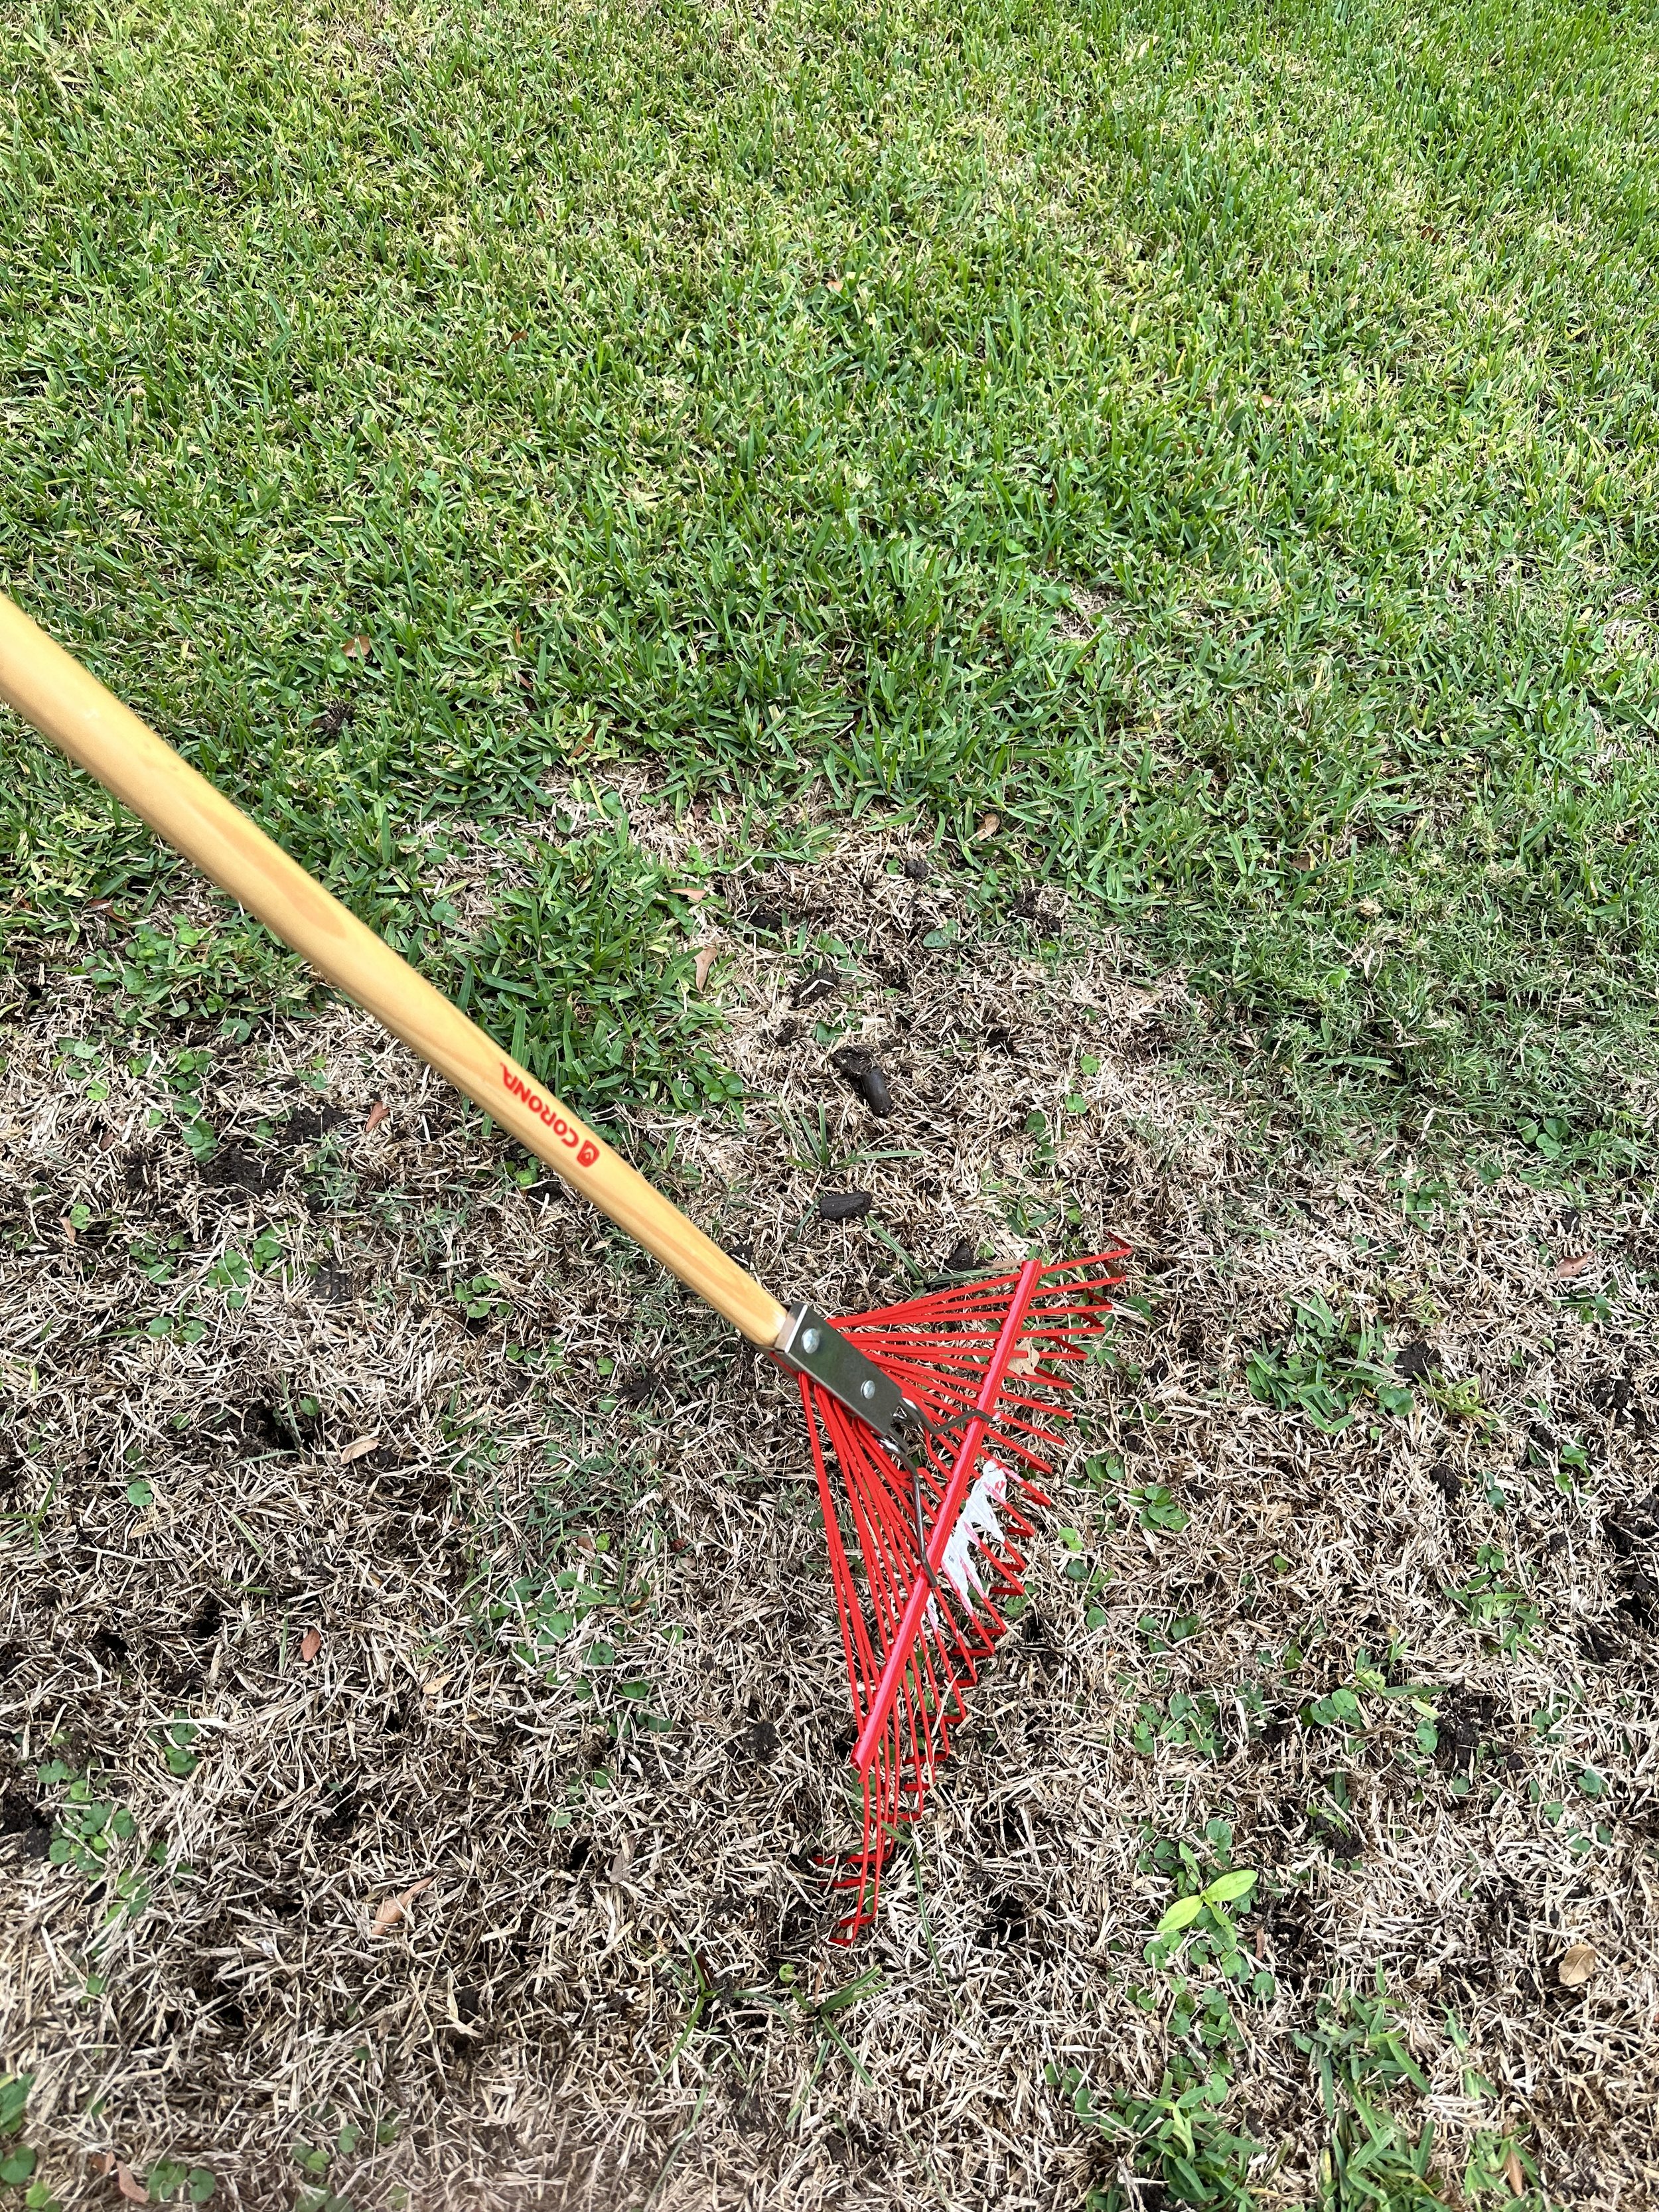
Rake the aerated area to break up the plugs of dirt and to remove any excess thatch or dead grass.
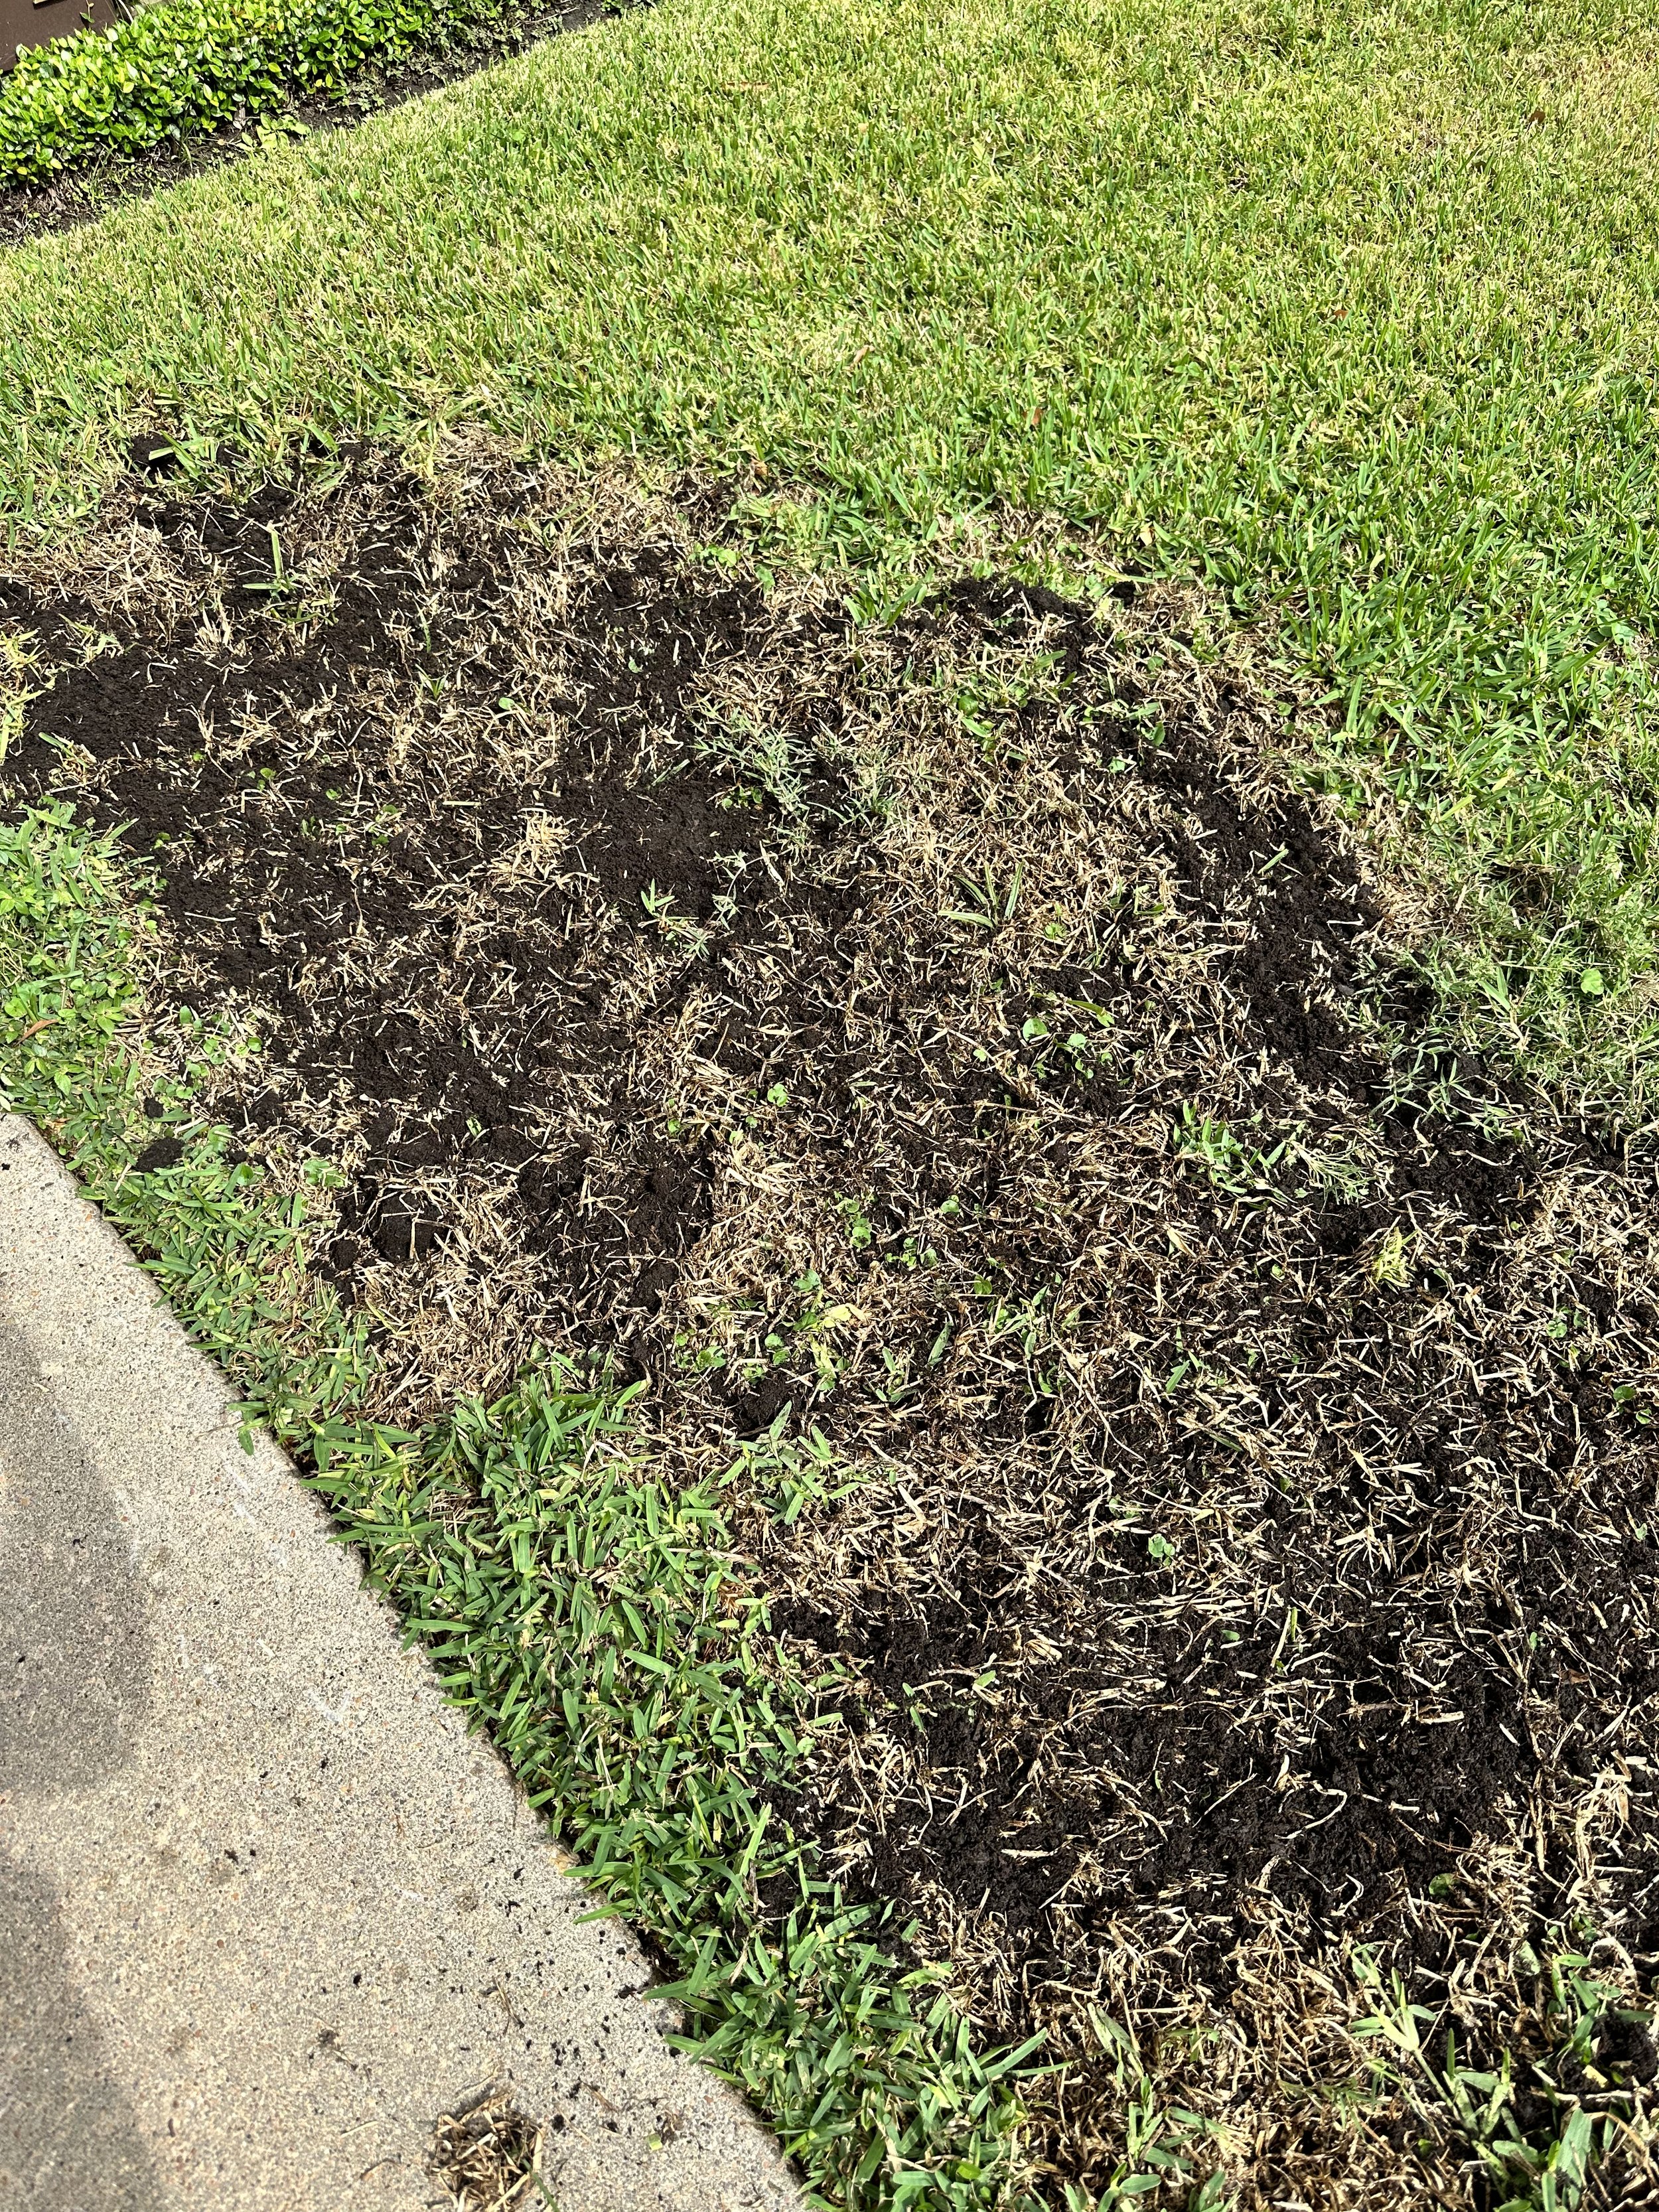
Leaf Mold Compost is applied in a fine layer over the treated area. Regular watering and rain will cause the compost to absorb in to the ground gradually.

Planting in Pots
How to put together a beautiful arrangement!
October 23, 2023

Think about where your arrangement will be located and how much sun the plant will receive on a daily basis. For this time of year, ivy, begonias, impatiens, etc do better in less or indirect sunlight while petunias, pansies, alyssum, snapdragons, etc do much better in full sunlight.
Next up, arranging you plants by height and characteristics. The spillers should be placed be around the edges and at the front. Tall plants will need to be placed in the middle or towards the back of the arrangement, depending on the shape/placement of the container. Lastly, fill in the remaining spots with the medium height plants. Pack you plants in tightly but make sure to leave a little room for growth.
Once you are happy with how your arrangement looks, it is time to get your hands dirty! If you take the plant out of the pot and there are a lot of roots circling the bottom, take the time to break up and trim some of the roots so the plant may better adapt to its new environment.
Lastly, fill in the gaps with soil, water your new arrangement well, and enjoy your beautifully planted pot!

As with most things in life, the key to long lasting and beautifully, planted arrangements is investing in quality material. Terra cotta pots, in both their raw and glazed finishes, are a wonderful option! They provide a sturdy structure for your plants and are excellent at moisture control (especially important in Humid Houston).
To begin, place coco liner in the bottom of the pot so that it covers the drainage hole. The coco liner will keep the healthy soil in the pot while allowing water to drain throughly. Waterlogged roots leave the plants more susceptible to disease. If the pot you have does not have a drainage hole, be sure to add a layer of gravel to the bottom of the pot and only water when needed.
The next step it to fill your pot, two-thirds of the way, with quality potting soil. A quality potting soil will be a very soft texture with compost mixed in with the soil. I most frequently use Jungle Land, Happy Frog or Fox Farm potting mixes.
Lastly, mix fertilizer in with the soil to ensure repeat blooms! Colorstar Plus is an excellent option that has a fungicide included to keep soil born diseases at bay.
Now for the fun part: picking out and arranging the plants!

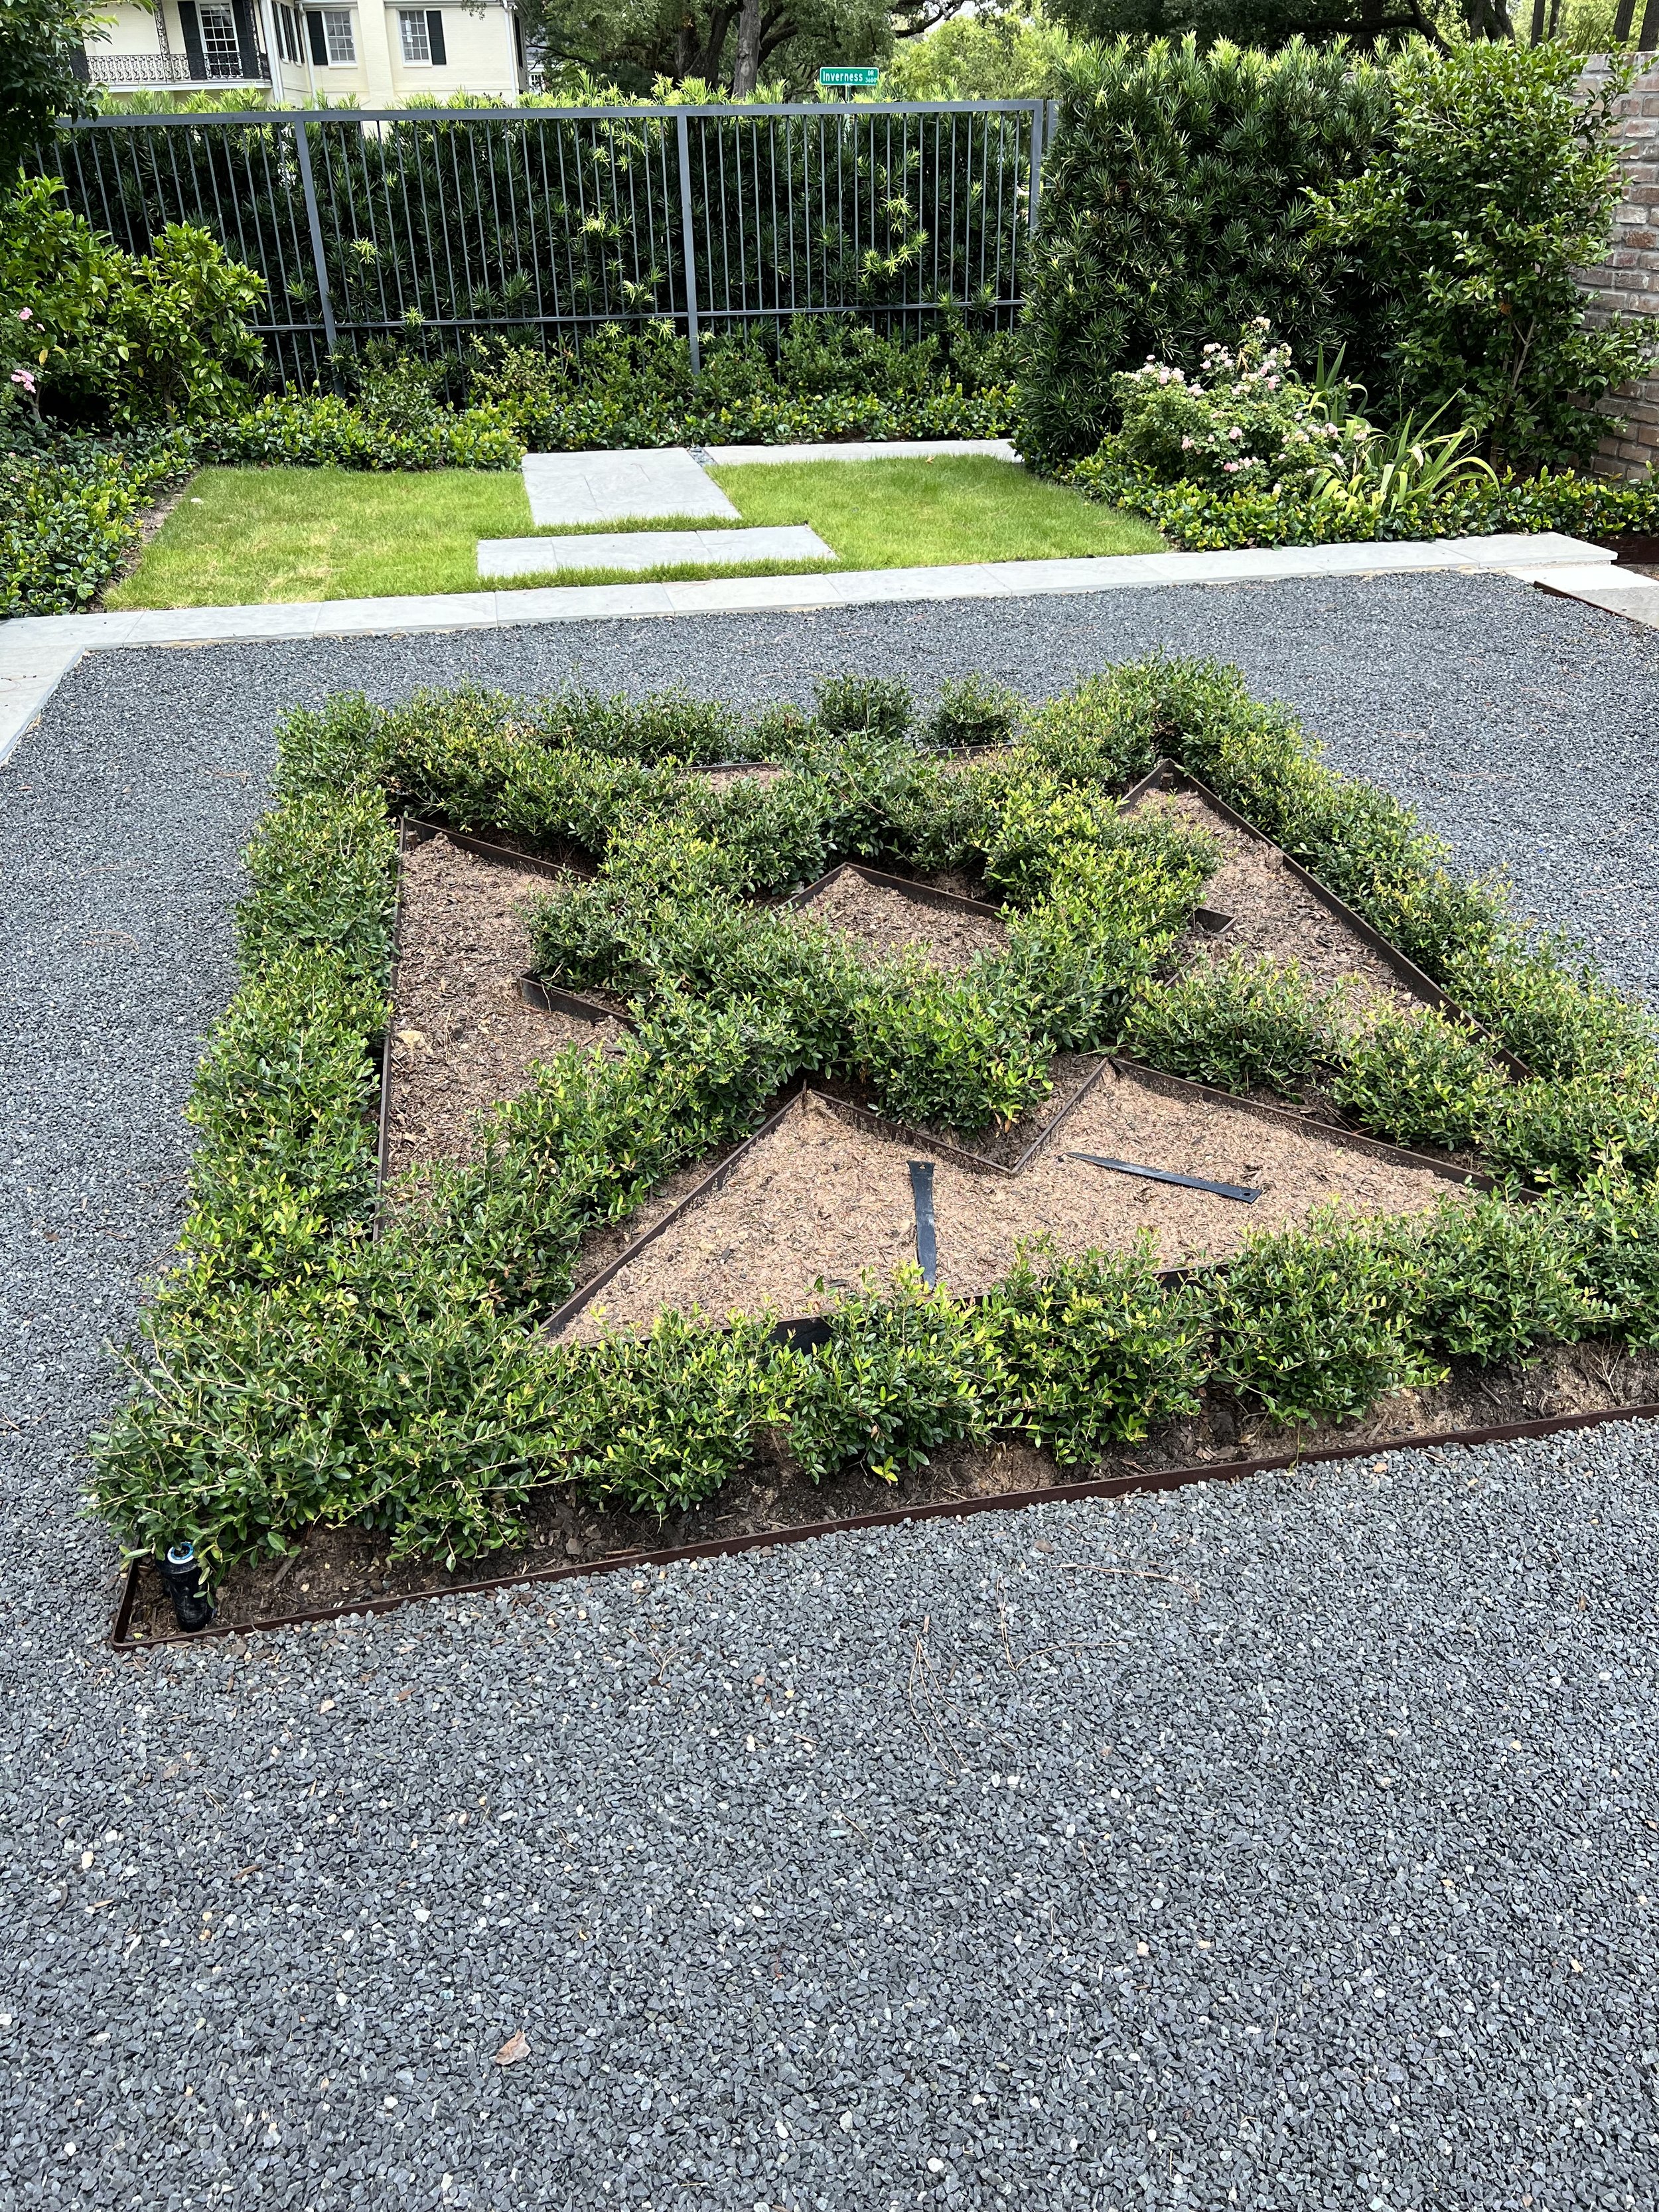
The Boxwood Dilema
How can this simple, green shrub cause so much of a headache?
October 5, 2023
Is it too much/little water, fungus, dog pee, shallow roots, etc?
When it comes to the Japanese Boxwood and our humid climate, it could be one of these problems or a combination of multiple issues. And with the predicted El Niño season ahead of us, the fungus and over watering issues will be at the forefront. Well established boxwoods, that have been in the ground longer, have a much larger root system and can weather temperature swings much better than newly planted boxwoods.
Should I replace my Boxwoods?
It depends on how many boxwoods you will need to replace. If you have a handful of boxwood that didn’t make it through a particular season, then it would be more cost effective to replace with a few new boxwoods. Additionally, if the hole that remains is small enough, after removing the dead boxwood, then you can let the existing boxwoods grow horizontally to fill in the space. On the other hand, if you have a large section that continues to die and you are tired of throwing money down the drain, then it may be time for a change. Most importantly, check the irrigation coverage to the boxwoods. As the plants grow, the heads may need to be adjusted to ensure adequate coverage.
What are my options?
My top three plants to replace boxwood, as a hedge border, are Dwarf Burford Holly, Dwarf Yaupon Holly, and ‘Pringles’ Dwarf Yew (example photos below). Dwarf Burford Holly is a tight growing holly with glossy, dark green leaves that thrives in a variety of landscape locations. Dwarf Yaupon Holly is the seamless substitution for boxwood because of its similar growth habits and leaf shape/size. New growth is bright green and will fade to a grey-green color. ‘Pringles’ Dwarf Yew is a playful shrub that can be tightly trimmed or left loose and fluffy. The Dwarf Yews do best in an area with good circulation.
Dwarf Burford Holly 15gal, newly planted, can be kept as a loose hedge or tightly pruned, does best in full to medium sun
Dwarf Yaupon Holly 3gal, established, planted in front of Japanese Yews, pruned in a rounded fashion, does best in full sun

‘Pringles’ Dwarf Yew 7gal, established, hand pruned to keep loose look, does best in full to medium sun
Dwarf Yaupon Holly 3gal, newly planted, will be trimmed and kept low, in the parterre fashion’ to showcase seasonal color inside